I was asked by a neighbour to make a couple of ukuleles for their four-year-old identical twin daughters for Christmas. Their father is a guitarist and musician, so there’s a chance they could actually get played rather than used as drumsticks.
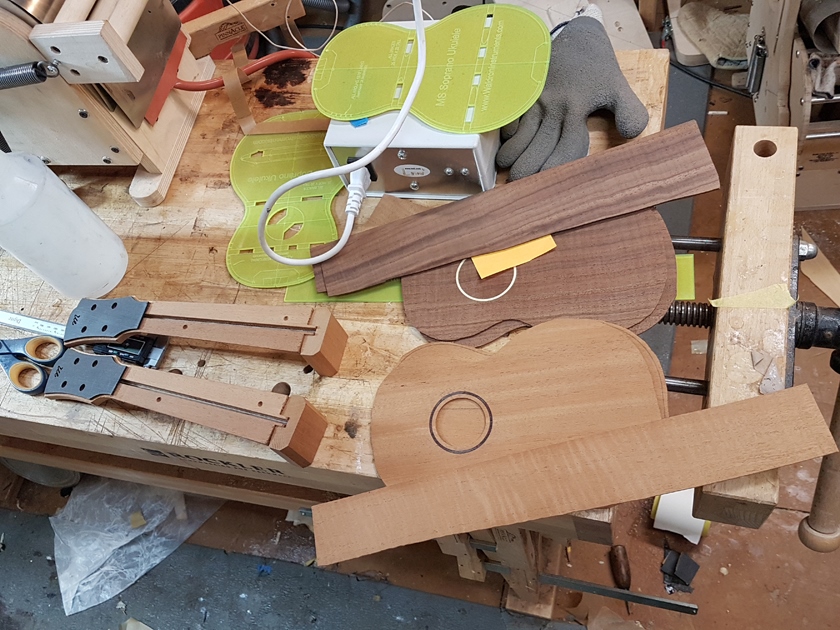
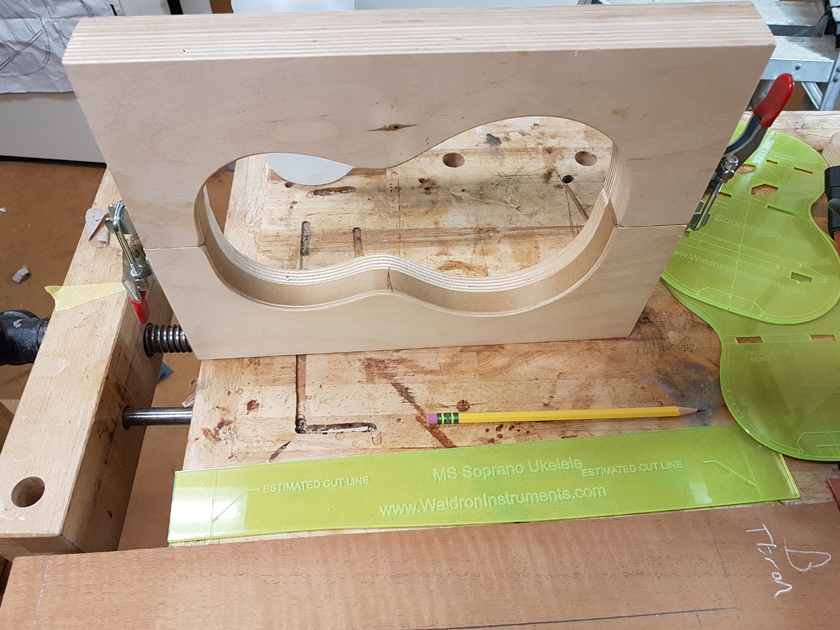
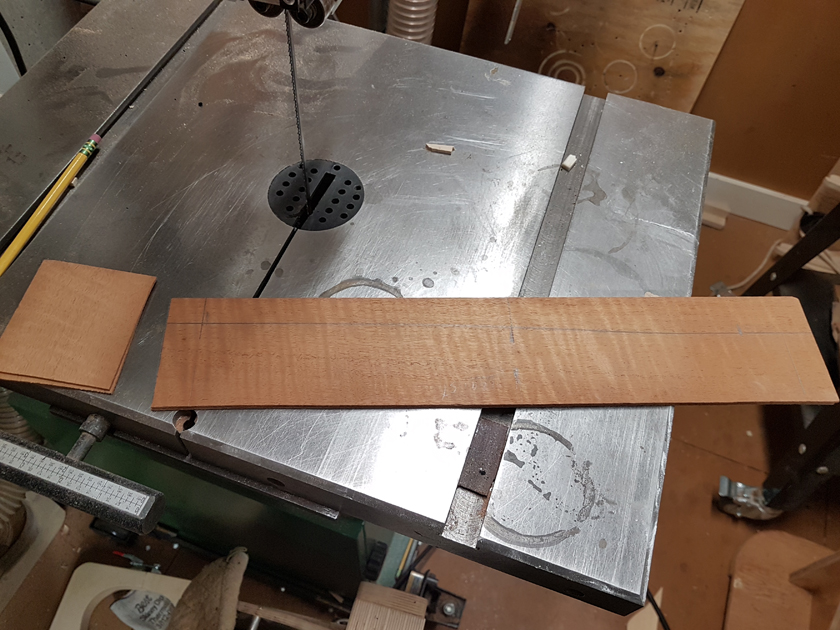
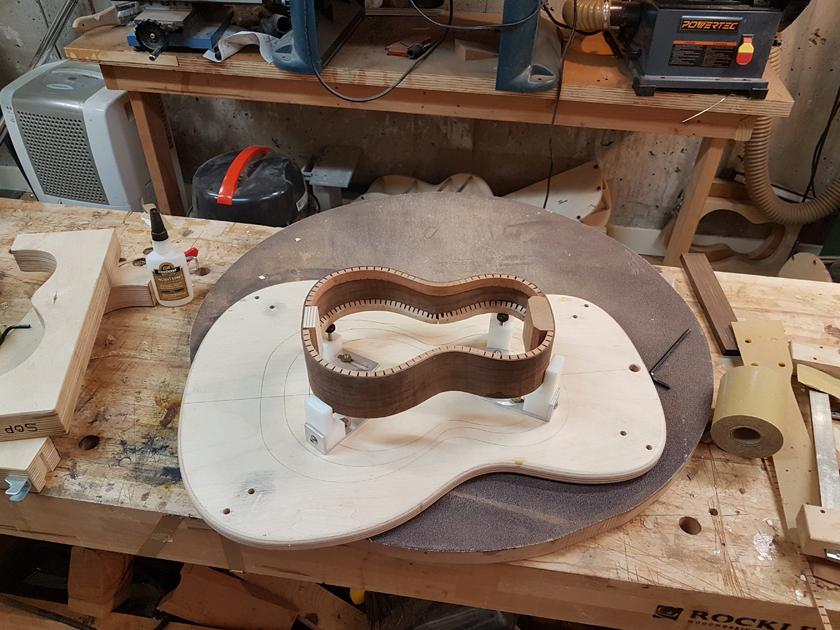
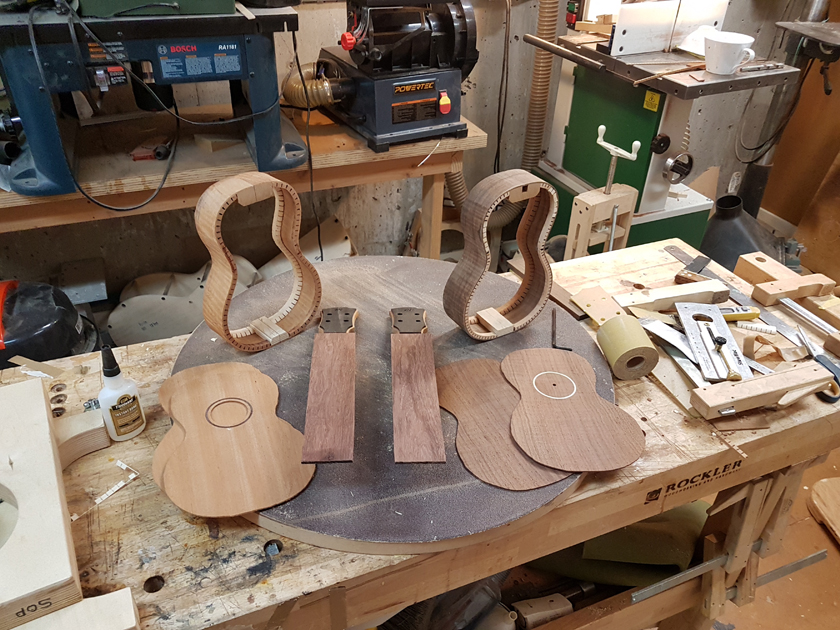
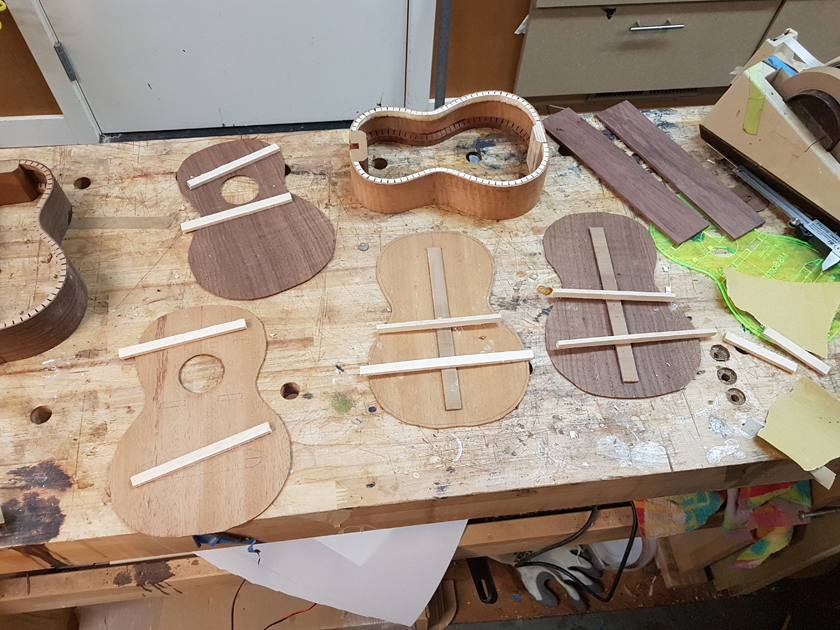
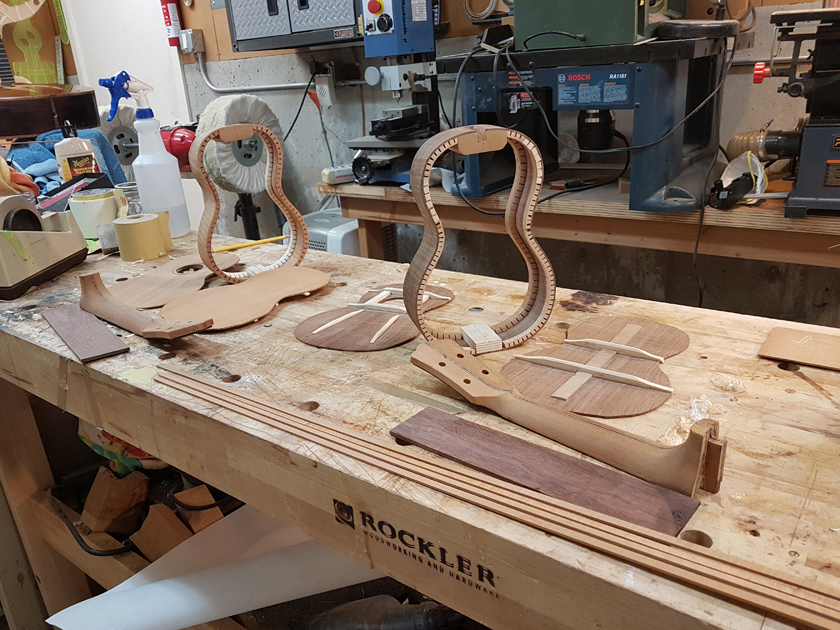
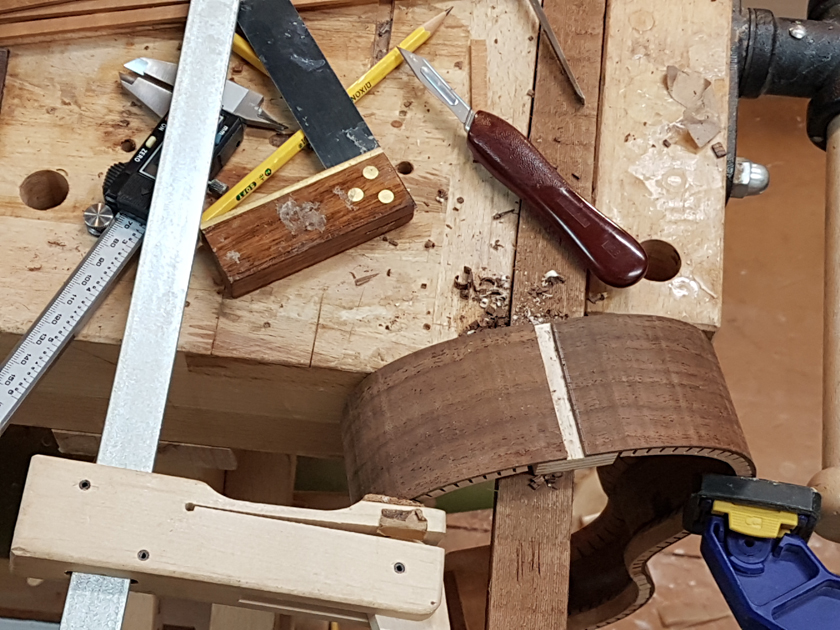
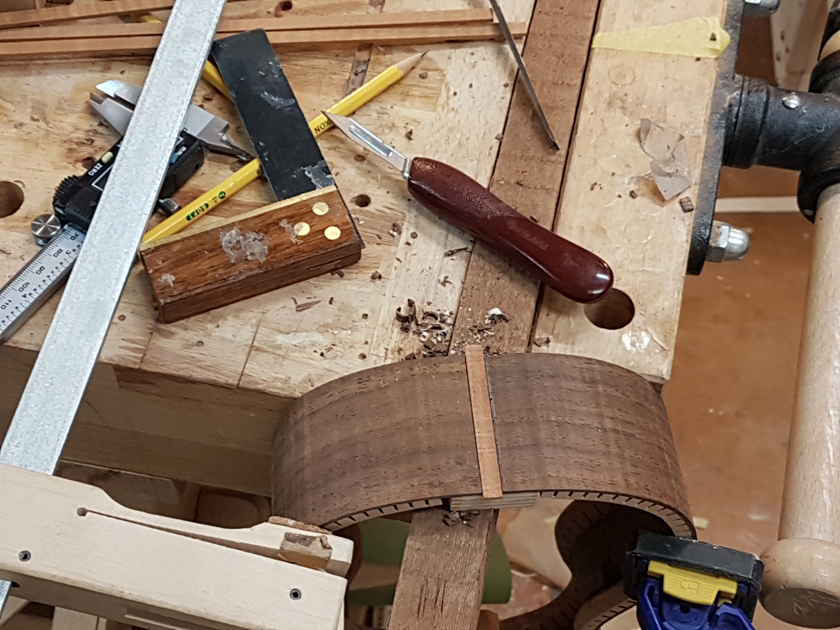
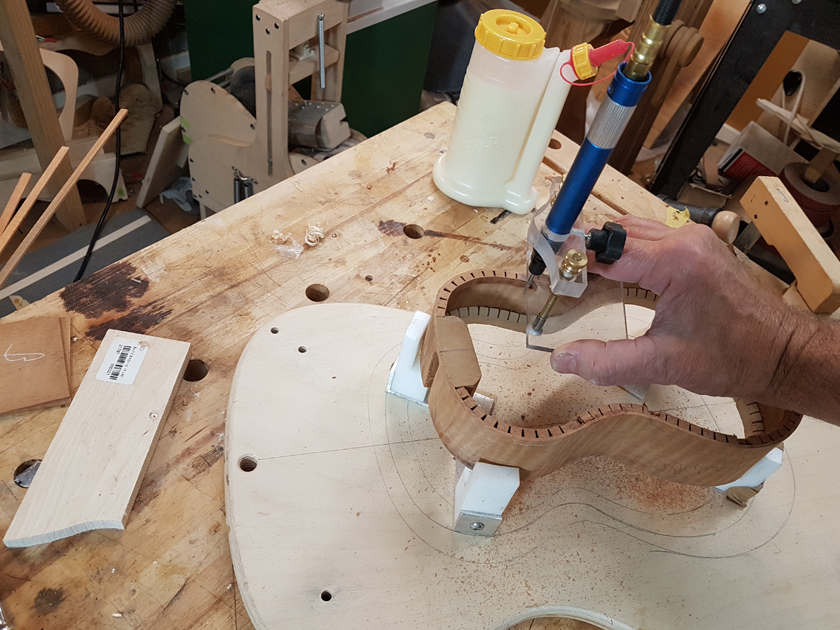
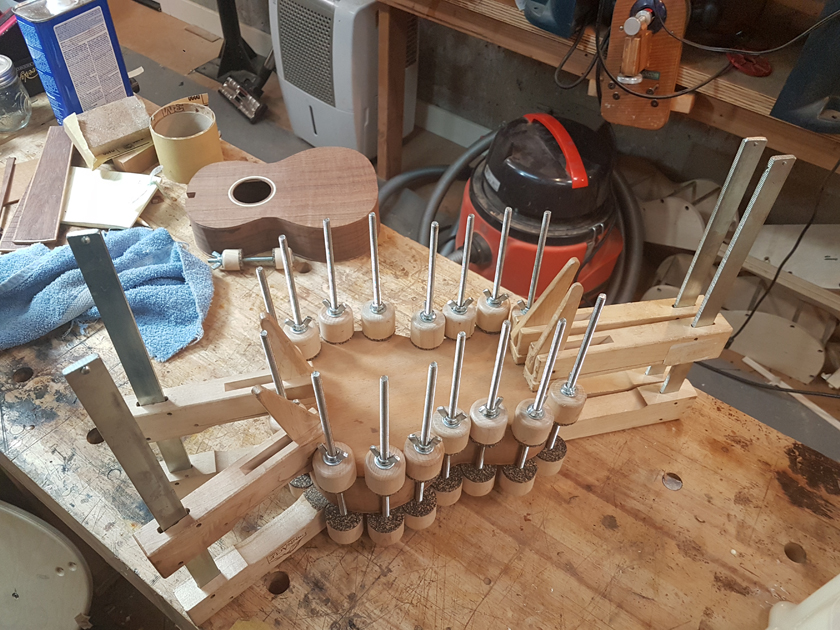
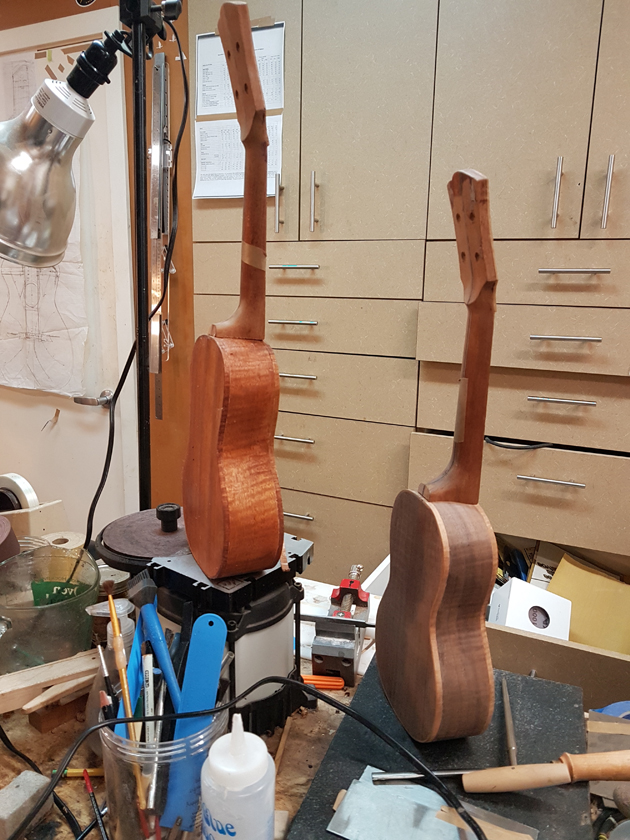
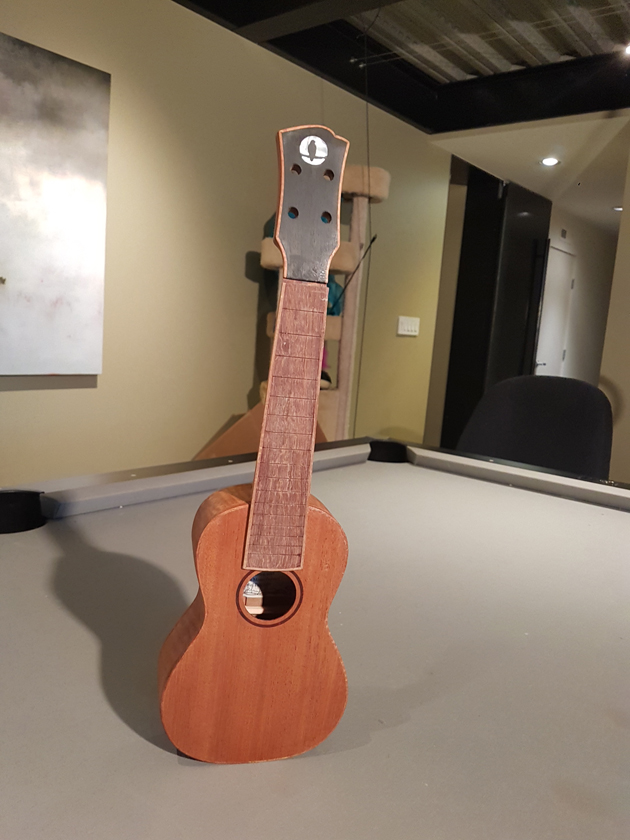
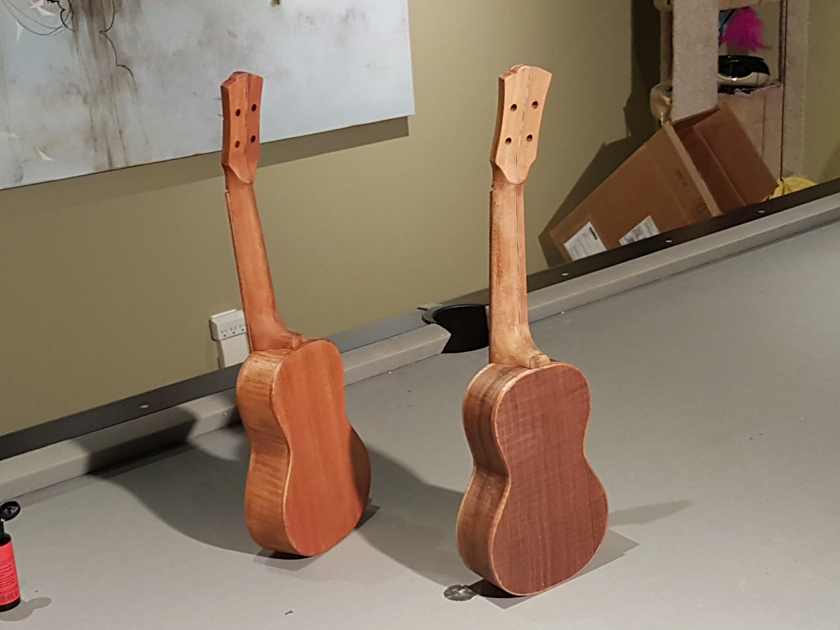
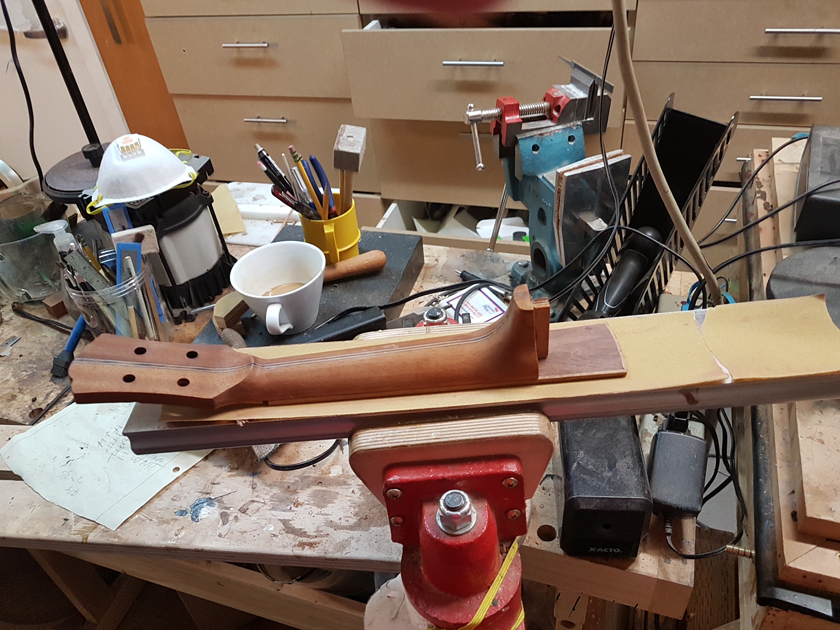
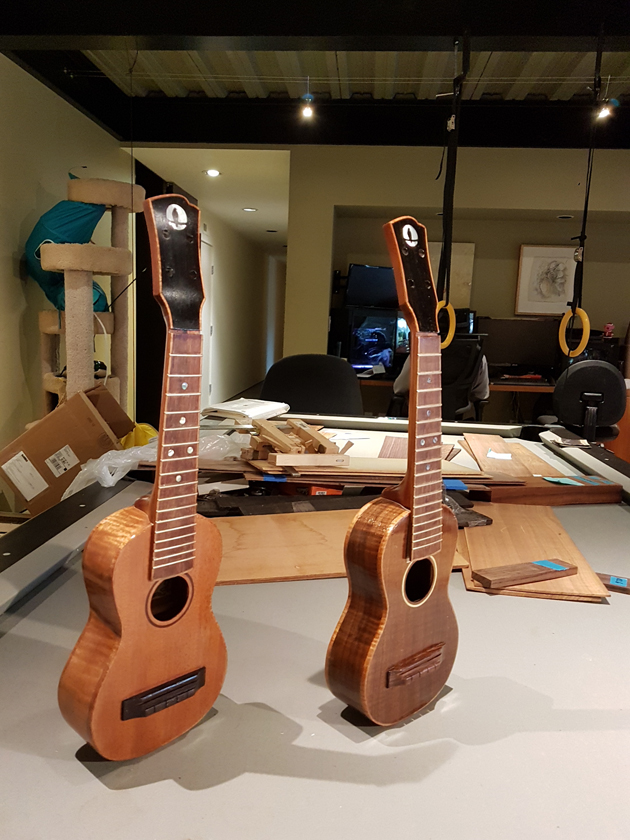
A while back I bought a box unseen of ukulele parts from a really good luthier who decided against making ukuleles. The box had joined and profiled plates, pre-made necks with headstock veneers, and various supplies. Perfect starting point for a pair of sopranos.
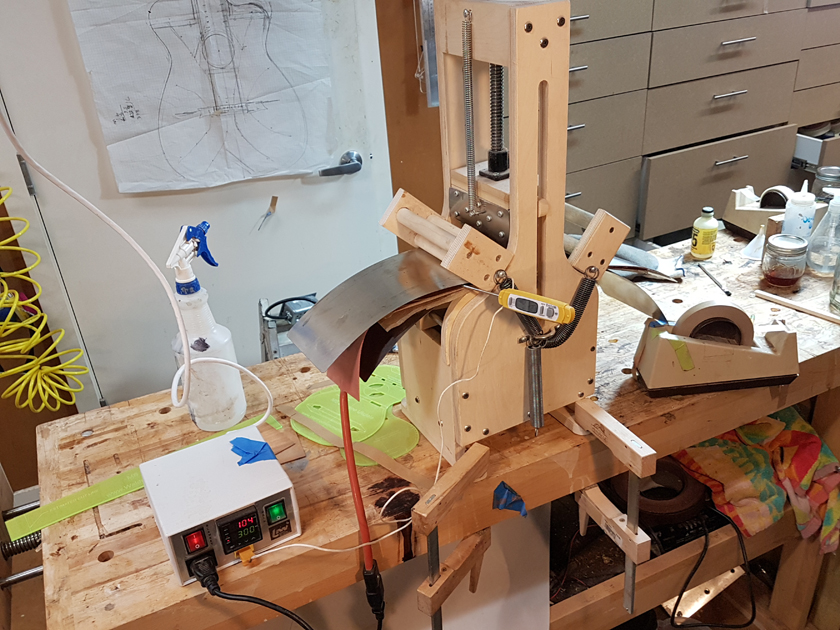
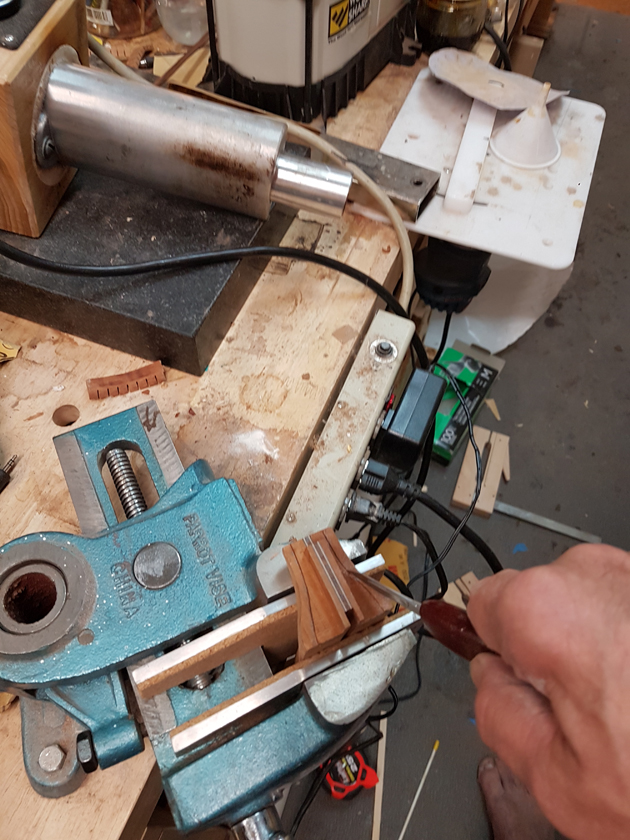
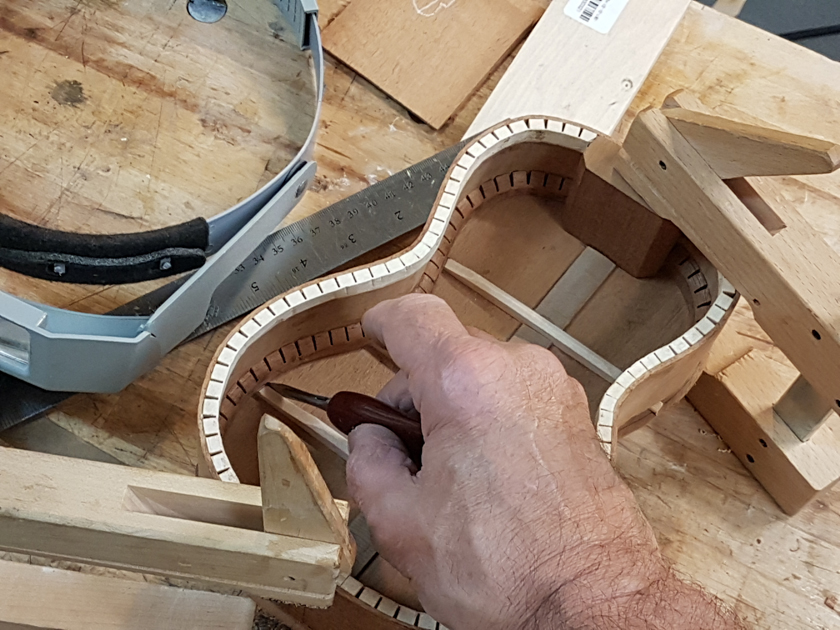
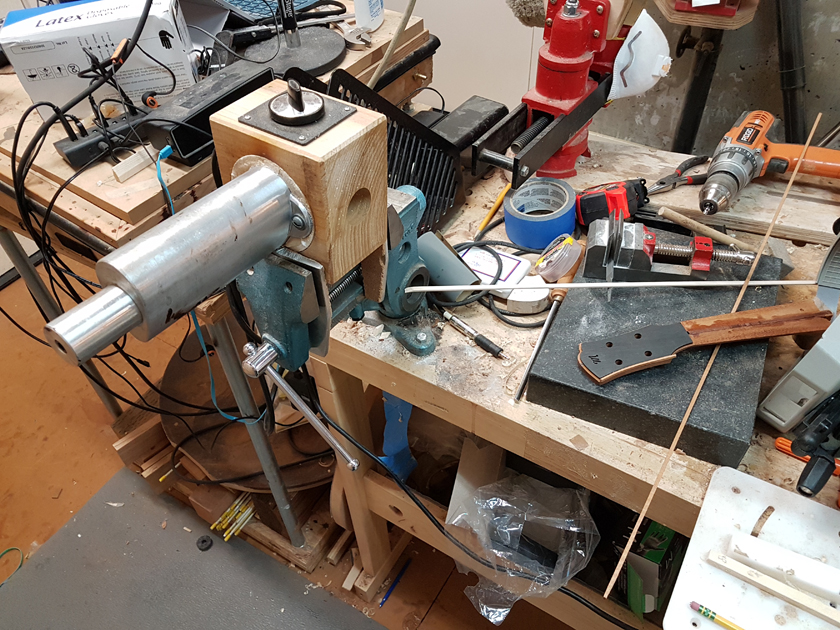
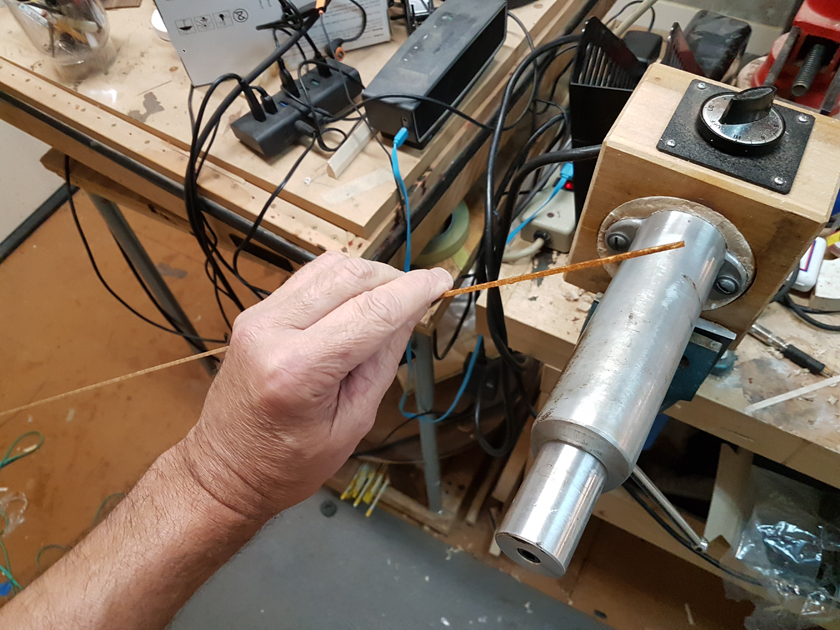
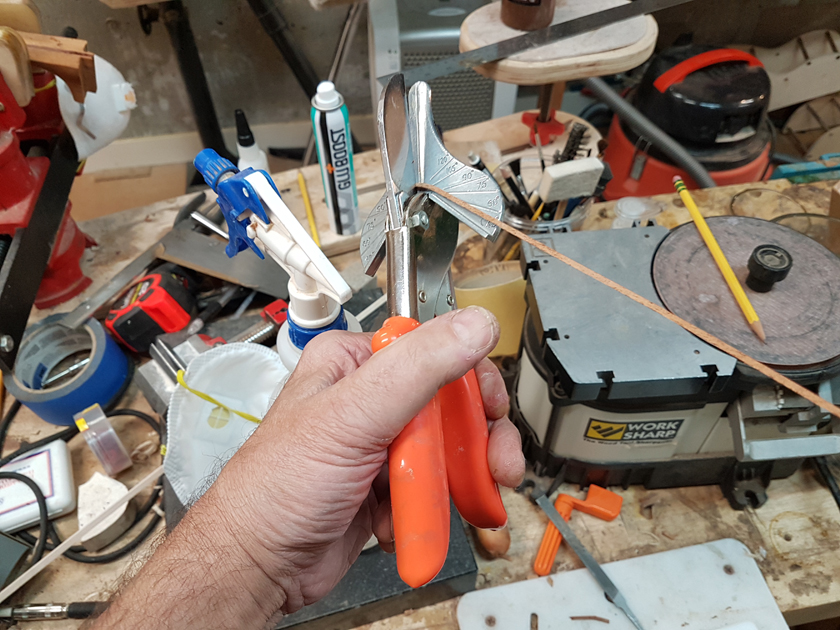
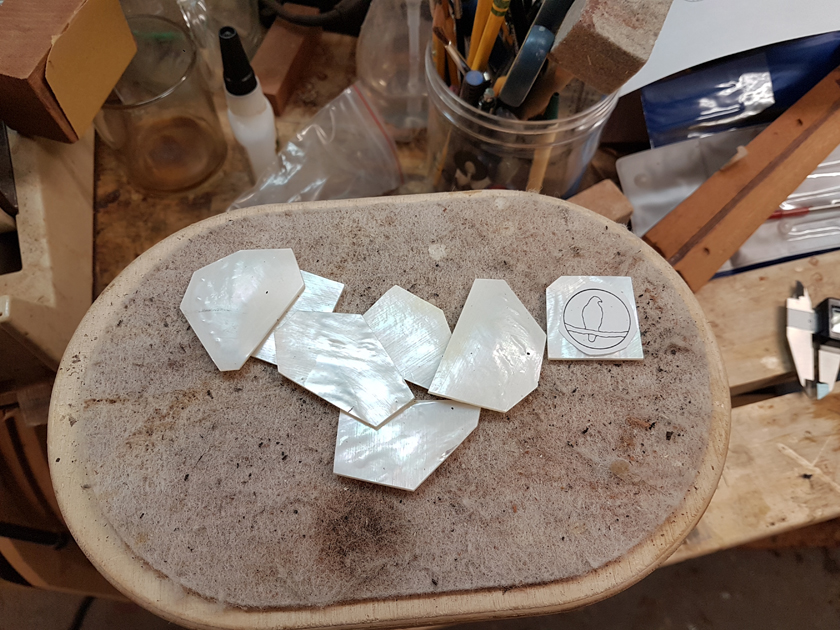
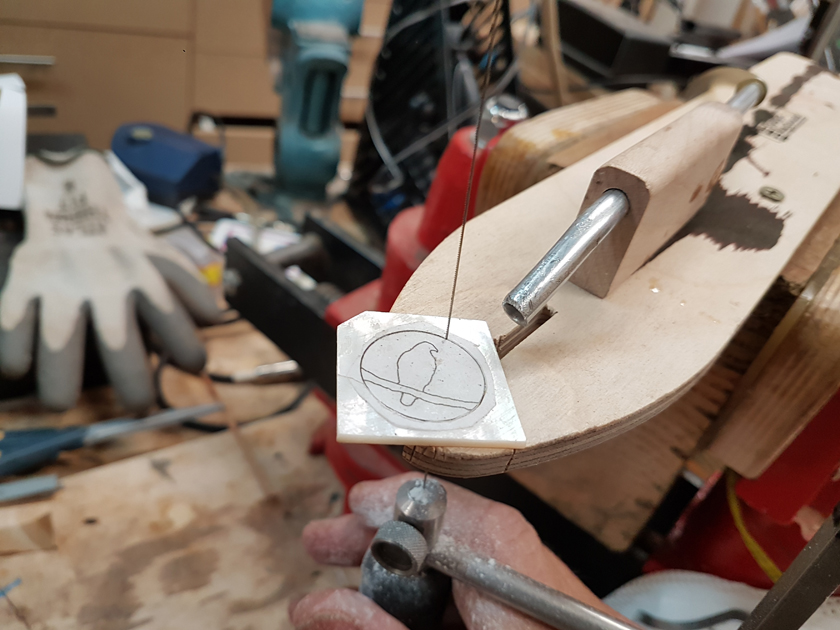
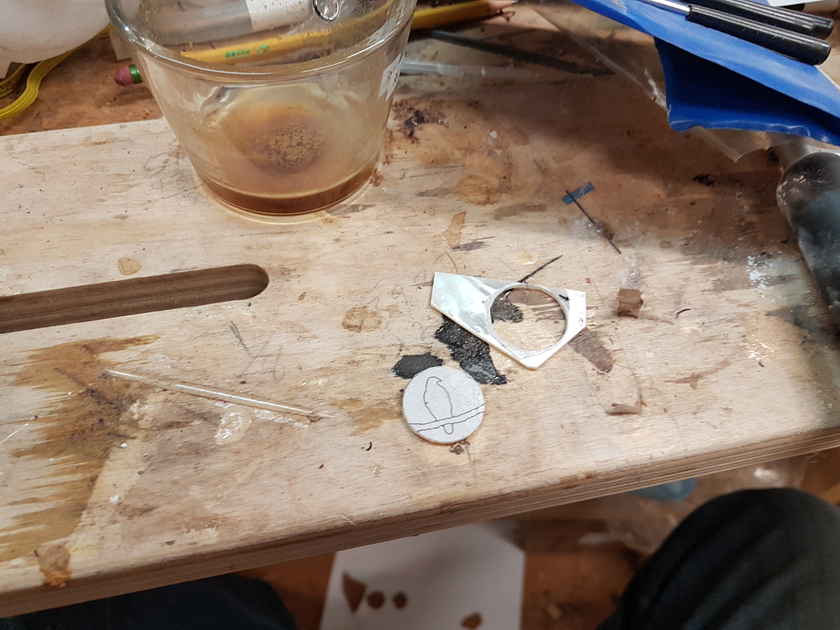
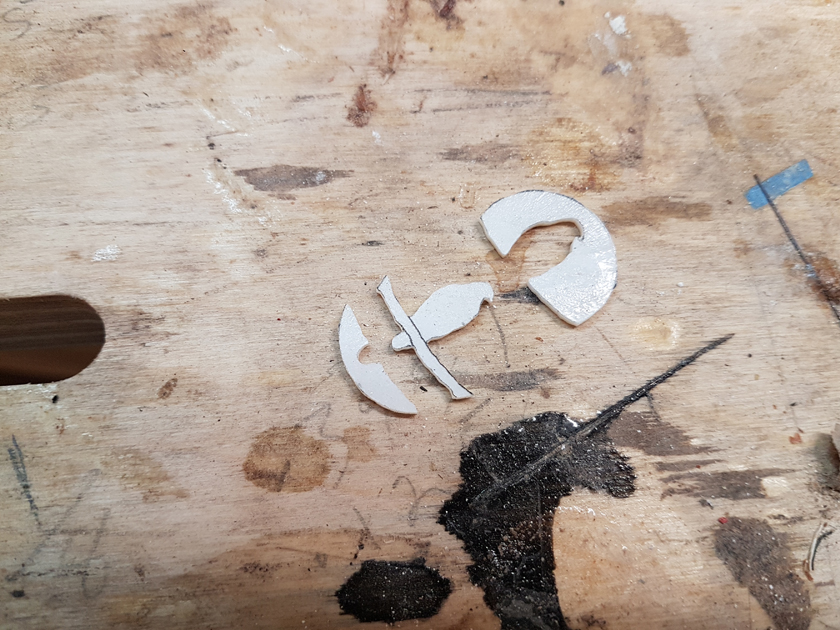
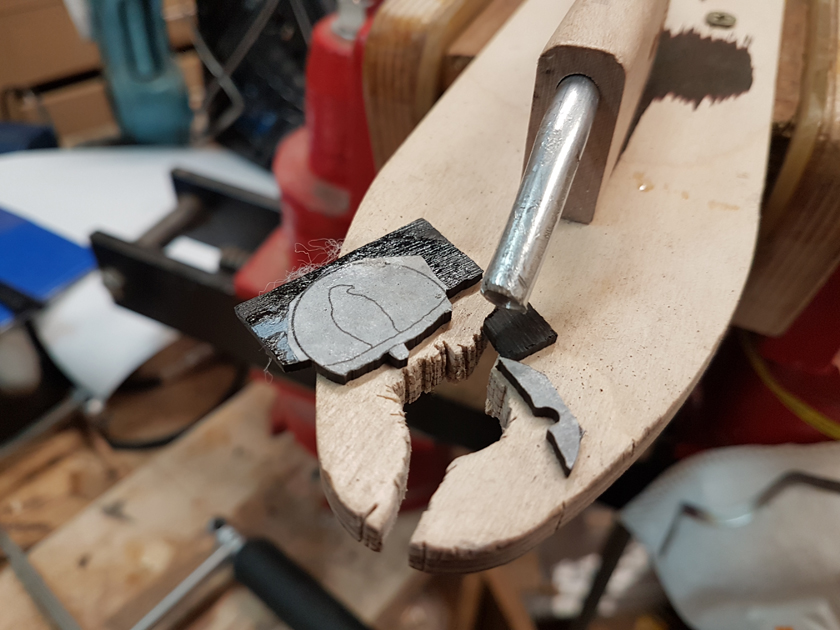
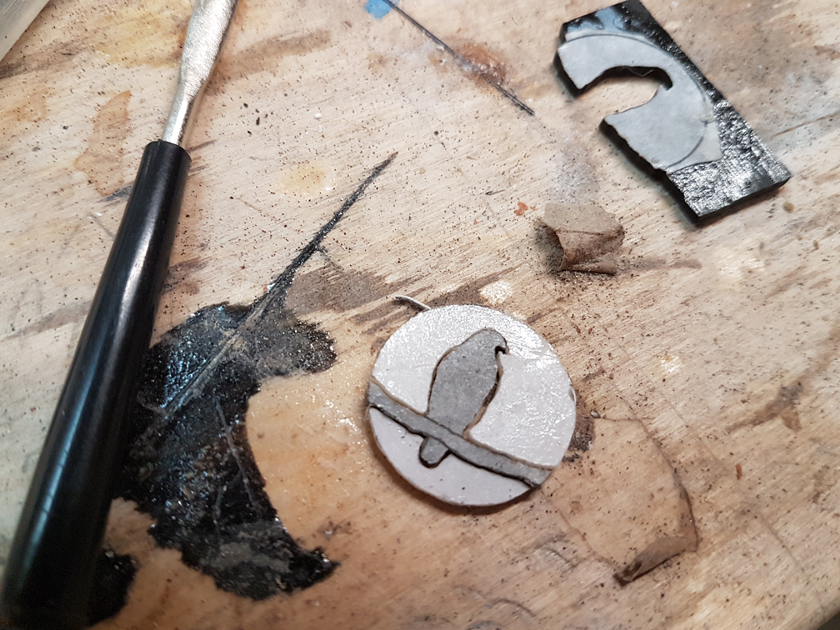
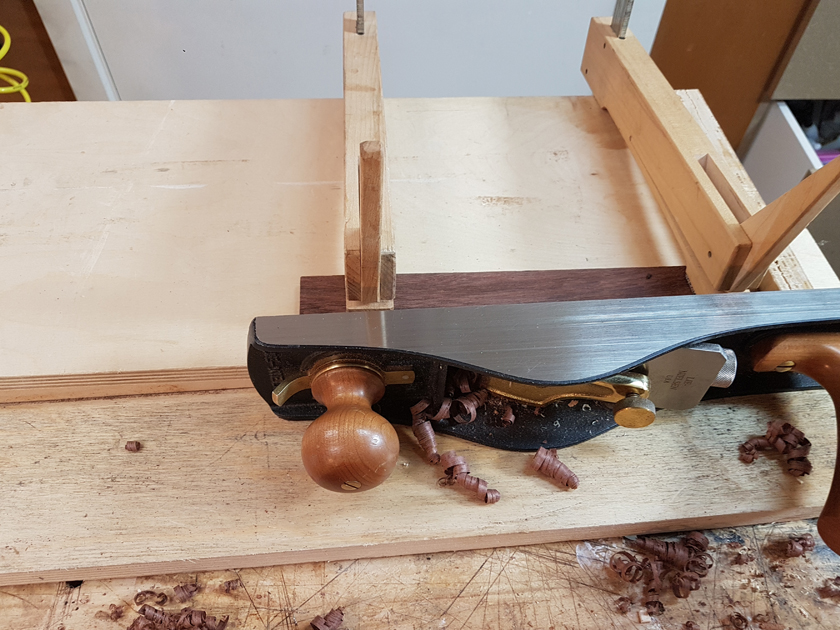
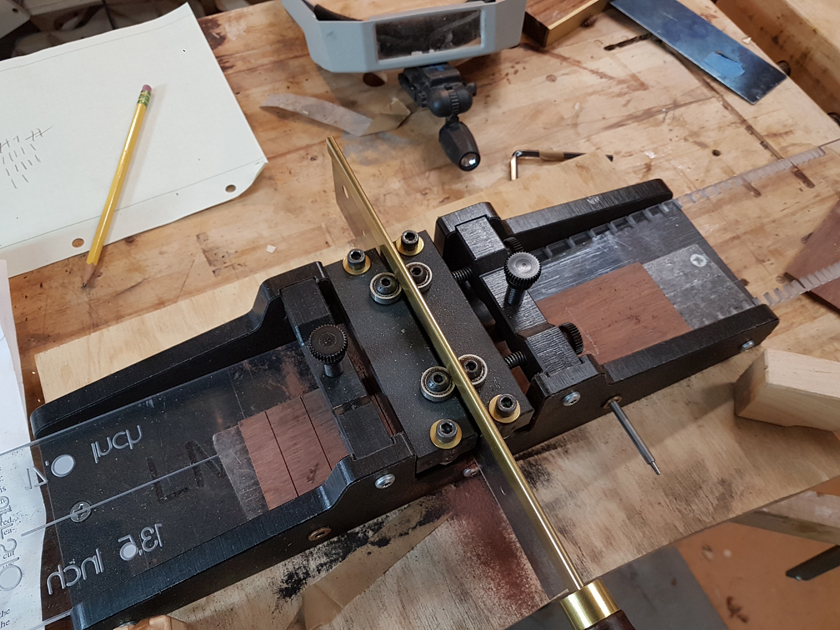
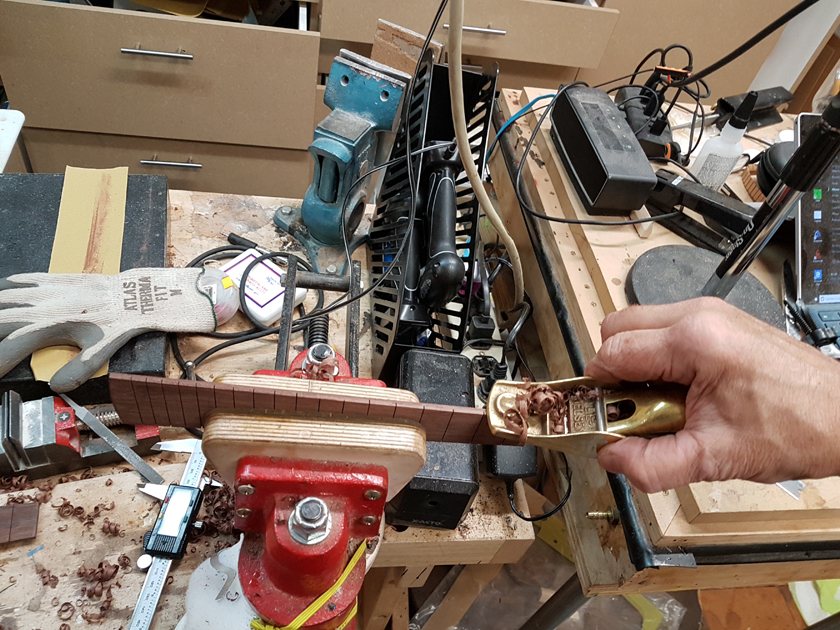
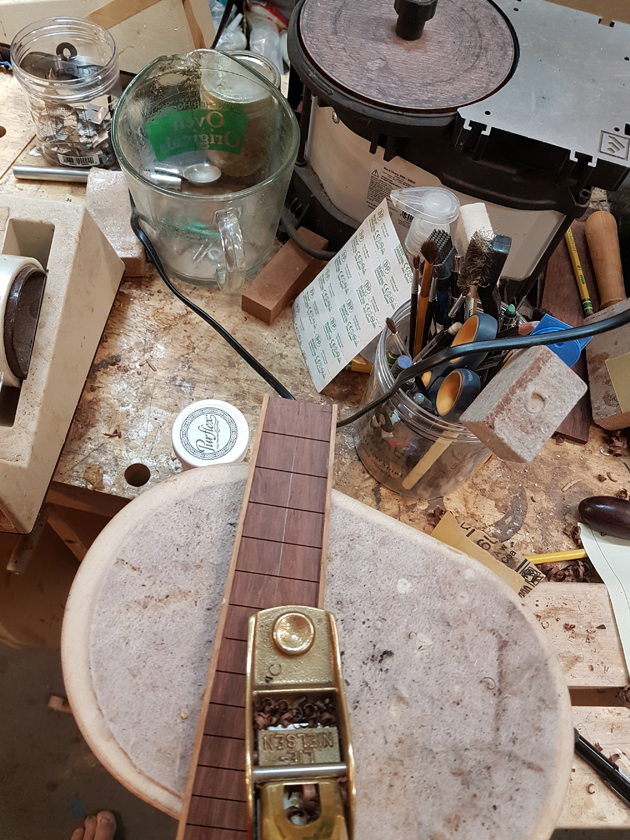
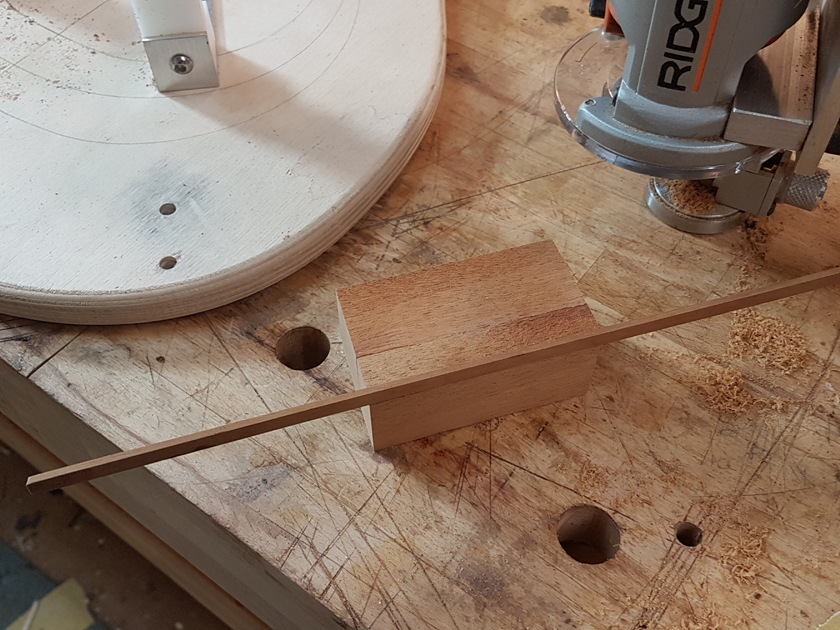
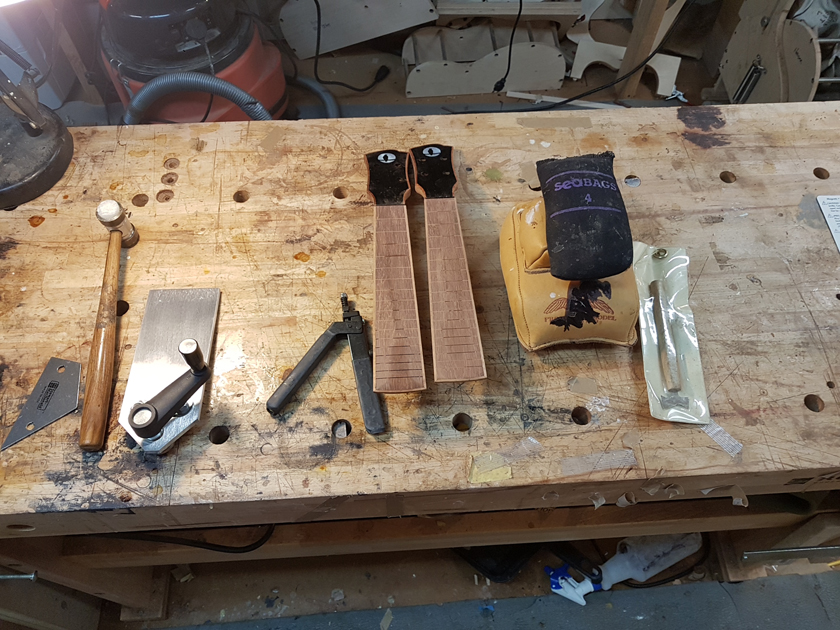
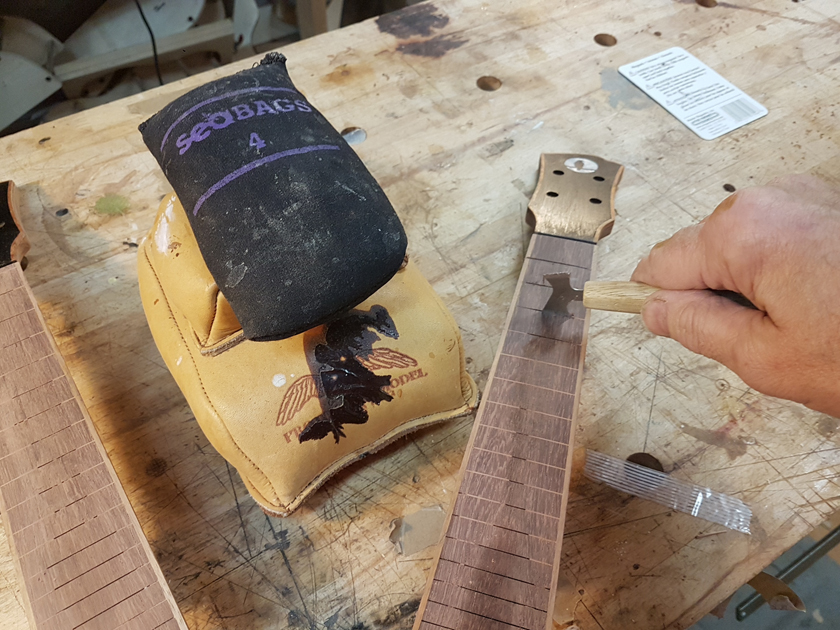
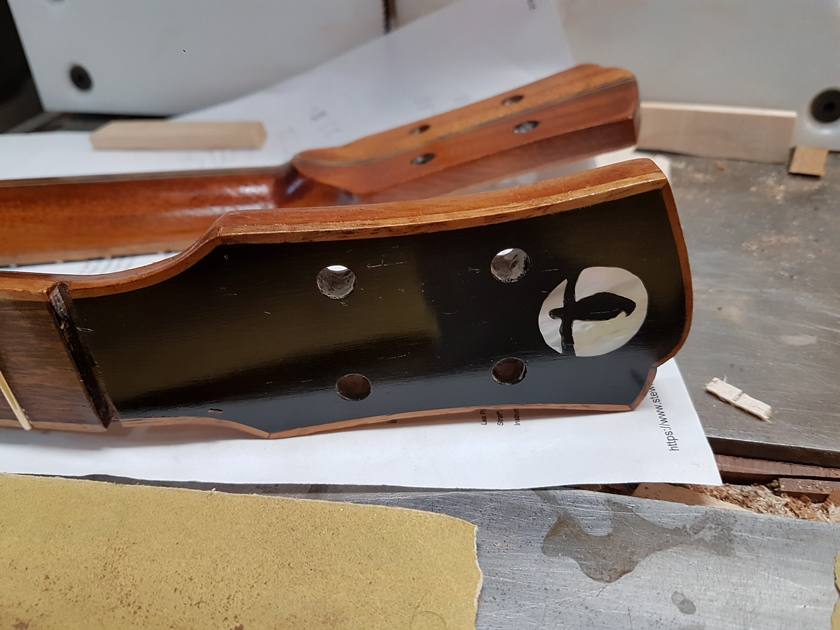
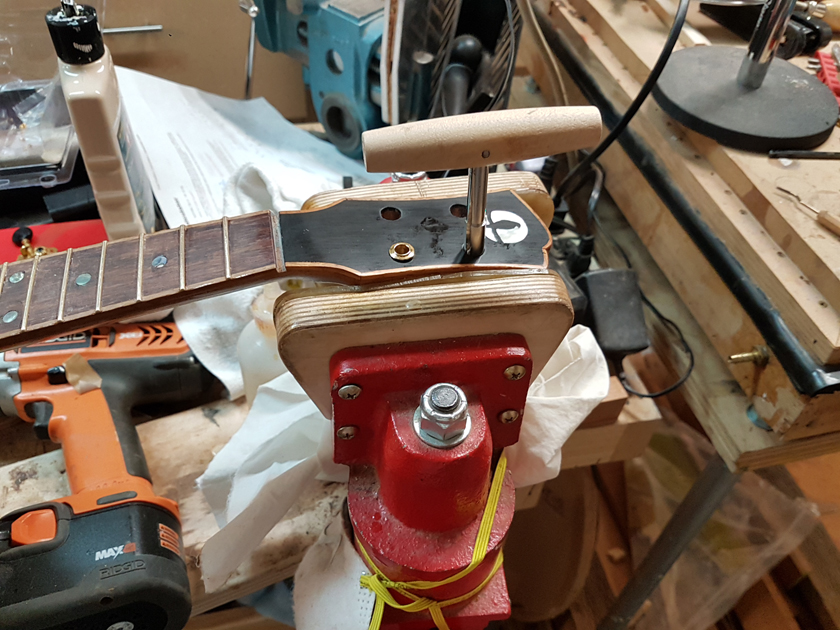
The Inlay ToolDave asked about the tool I was using for inlay work. It’s a 1/8″ pneumatic pencil-type die grinder with an inlay base from John Hall at Blues Creek Guitars. I use it for all my inlay routing — it gives much more control than a full-size router for the small detailed work.
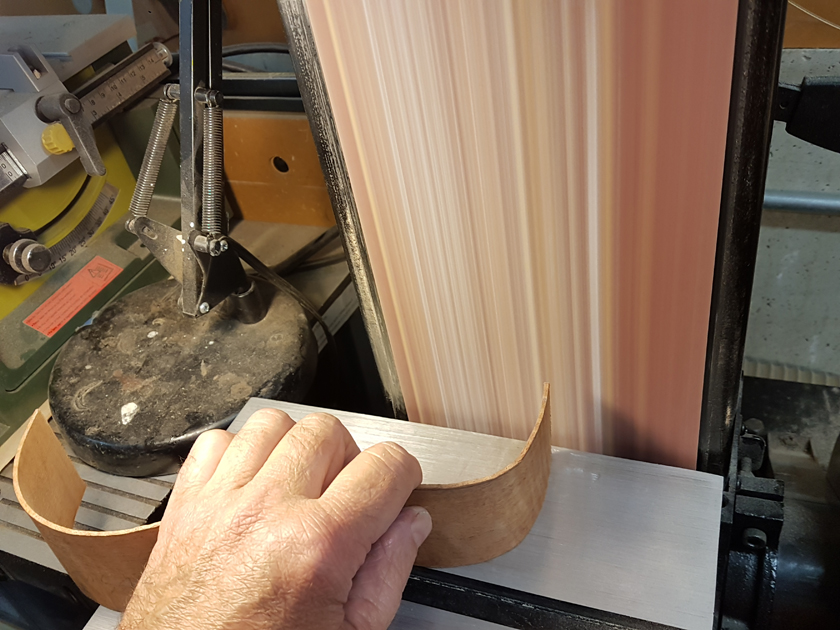
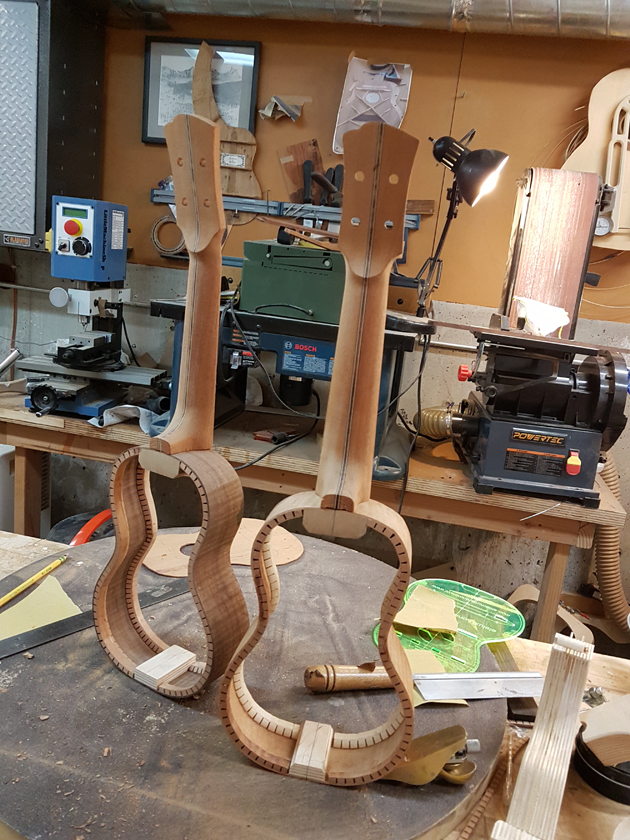
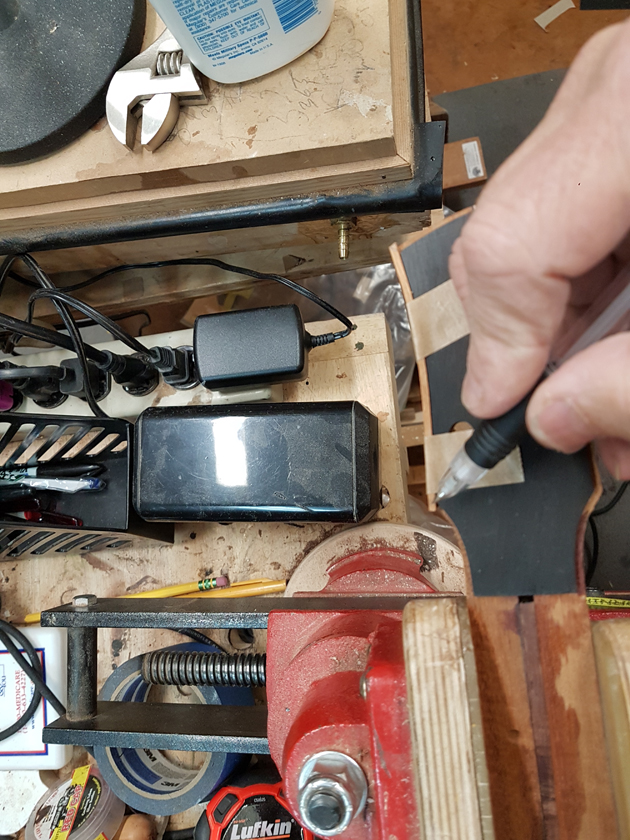
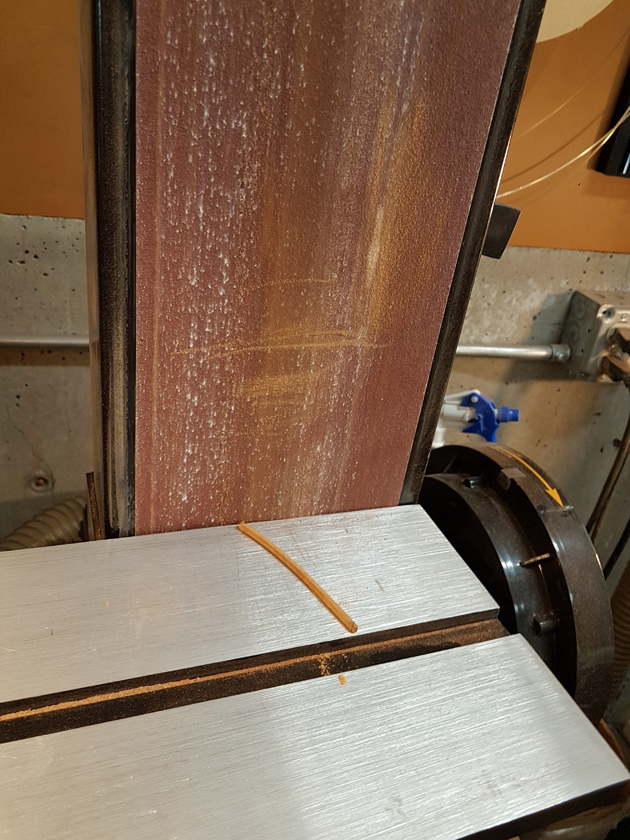
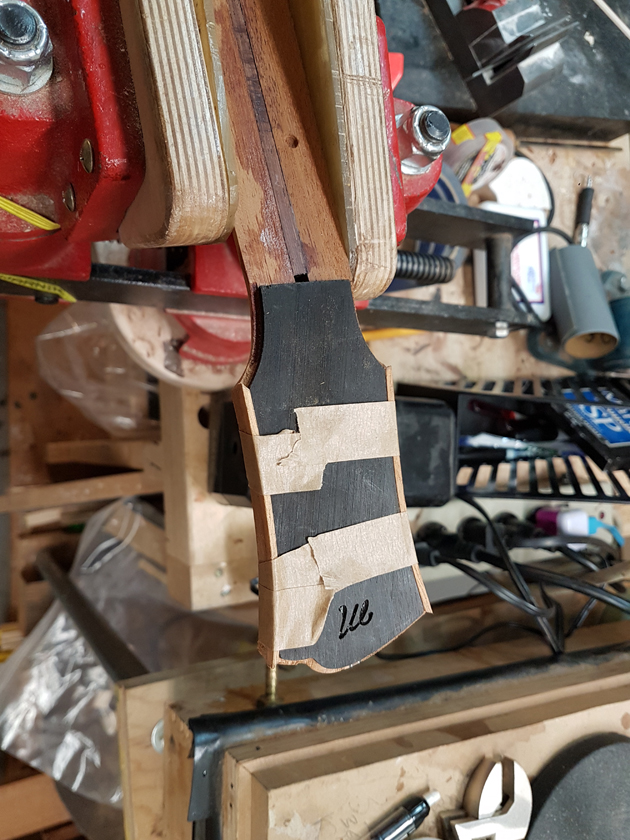
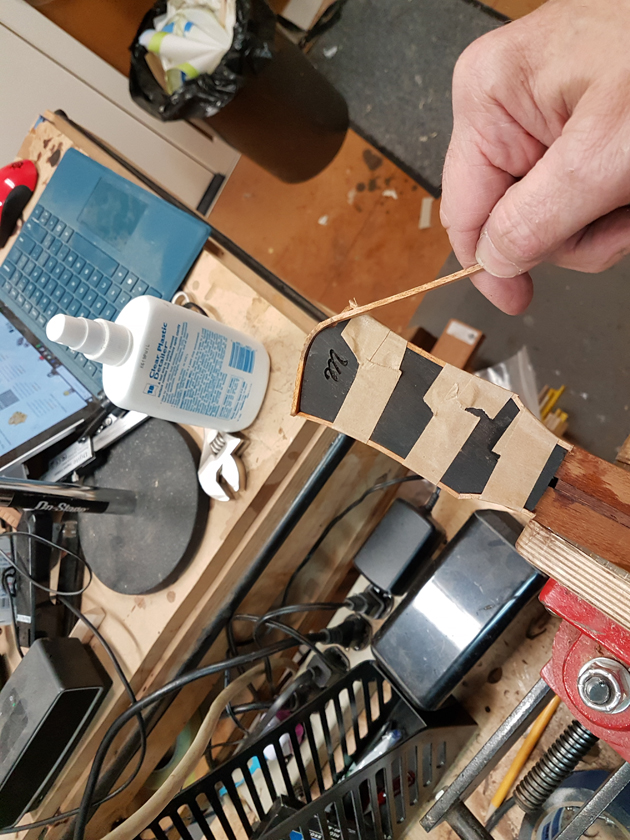
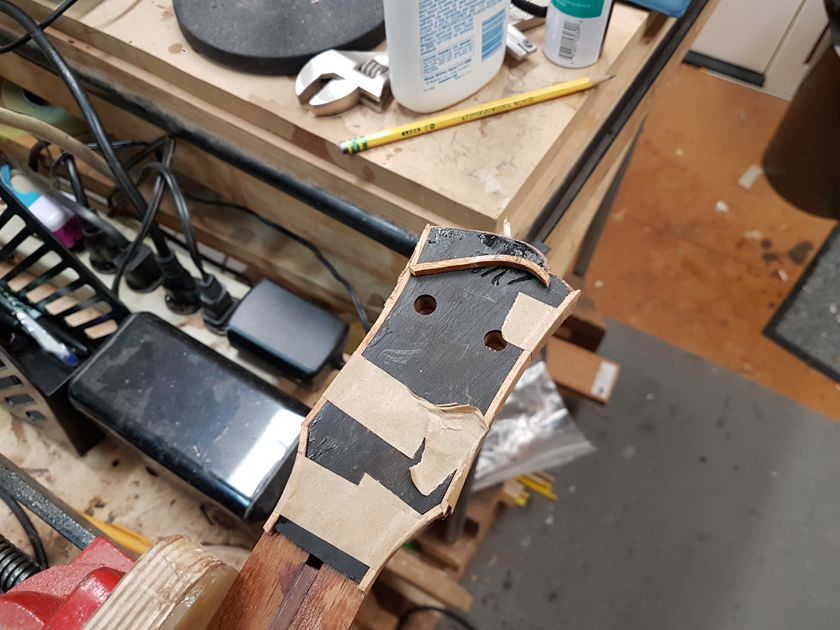
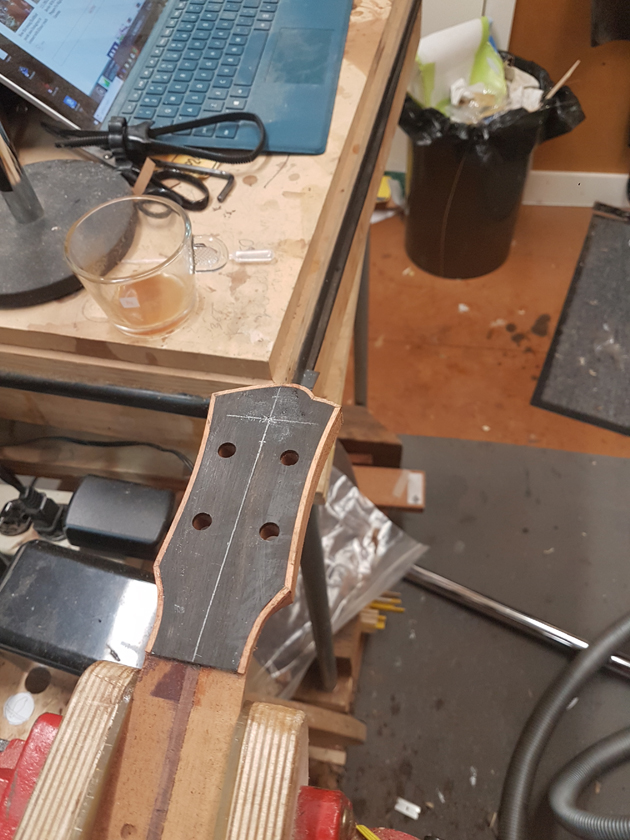
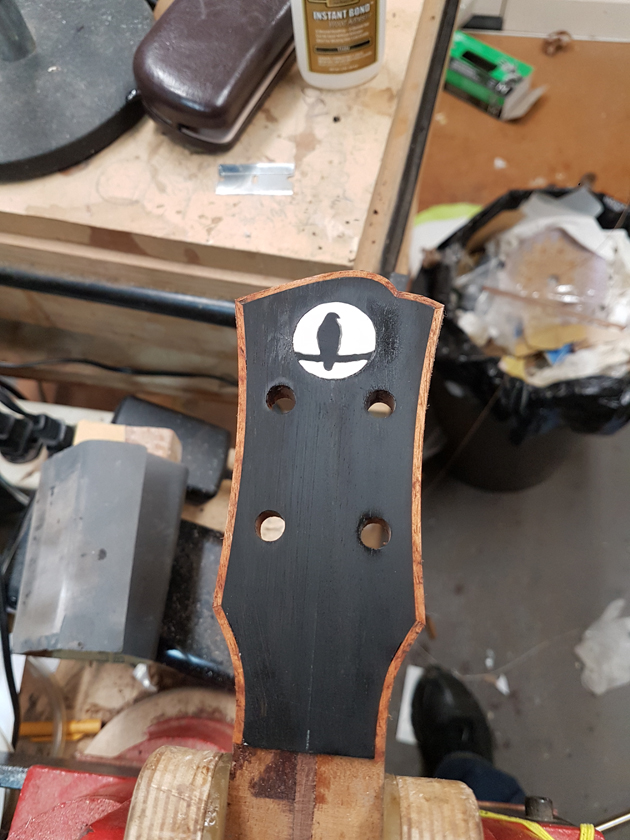
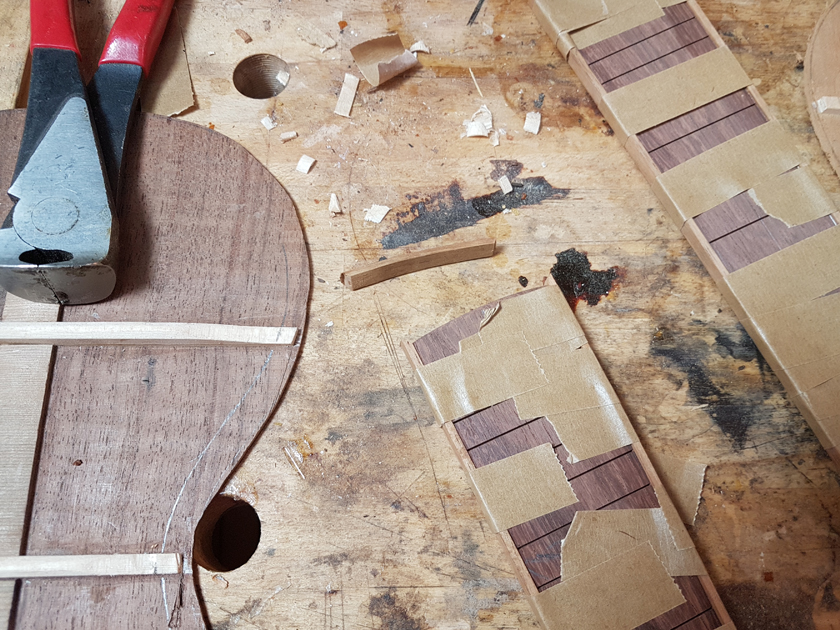
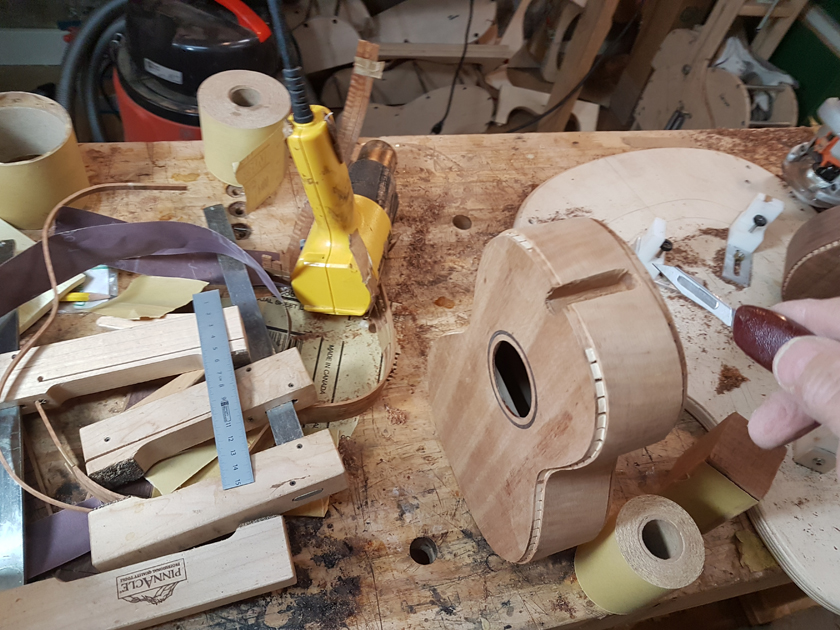
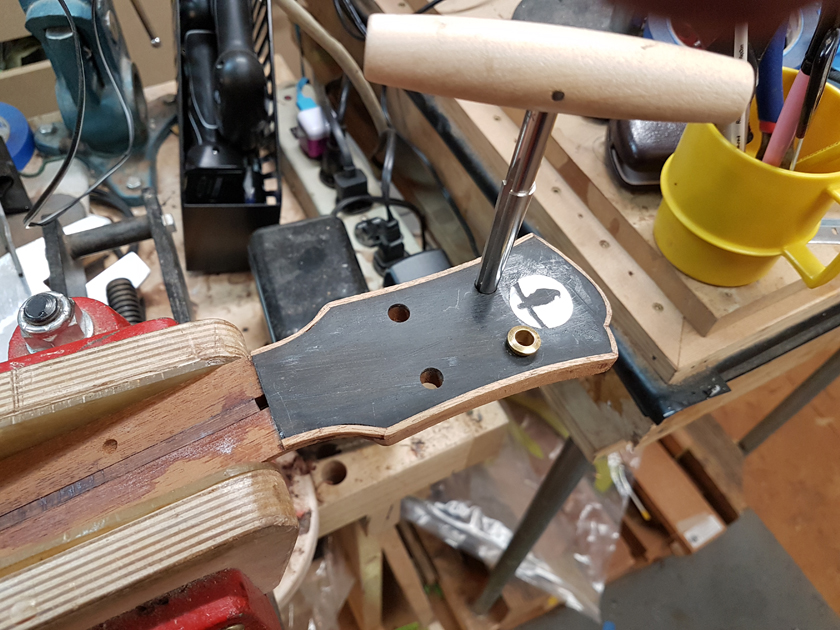
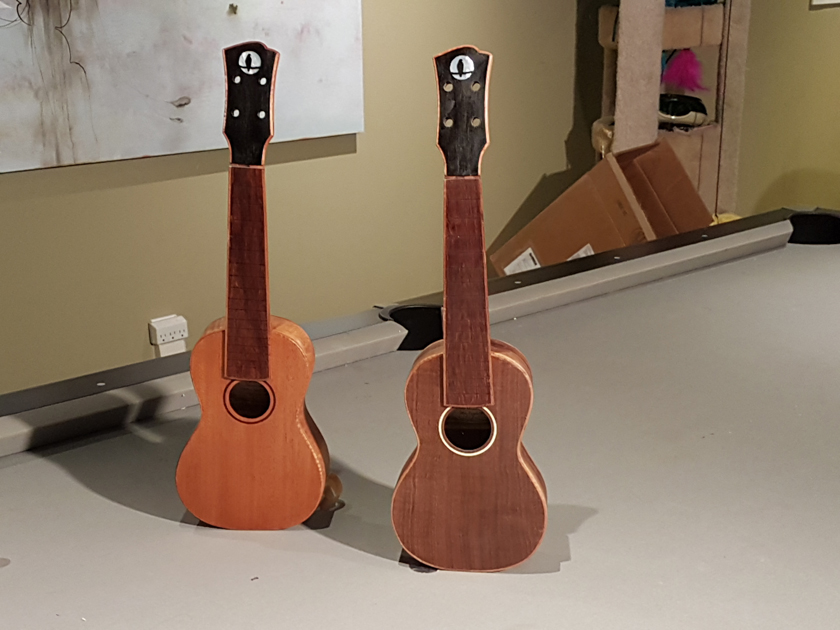
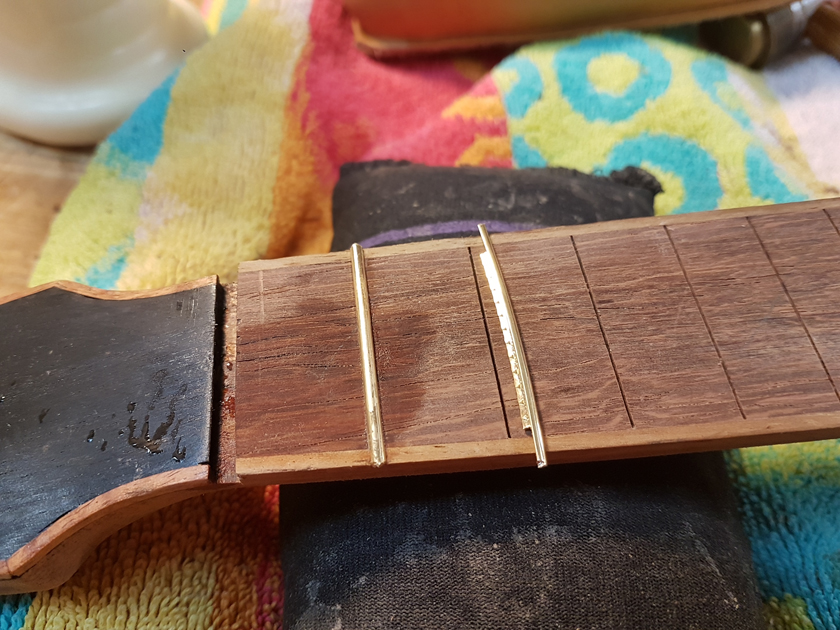
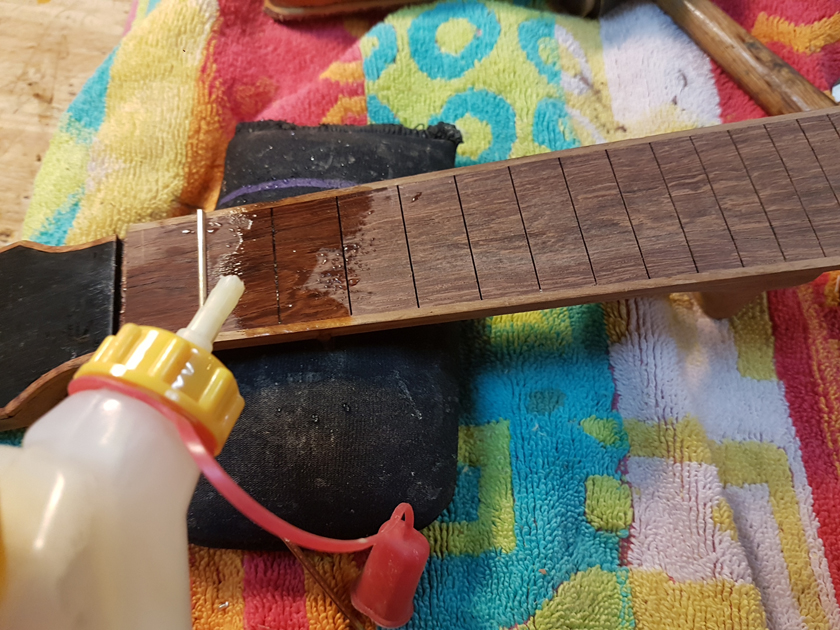
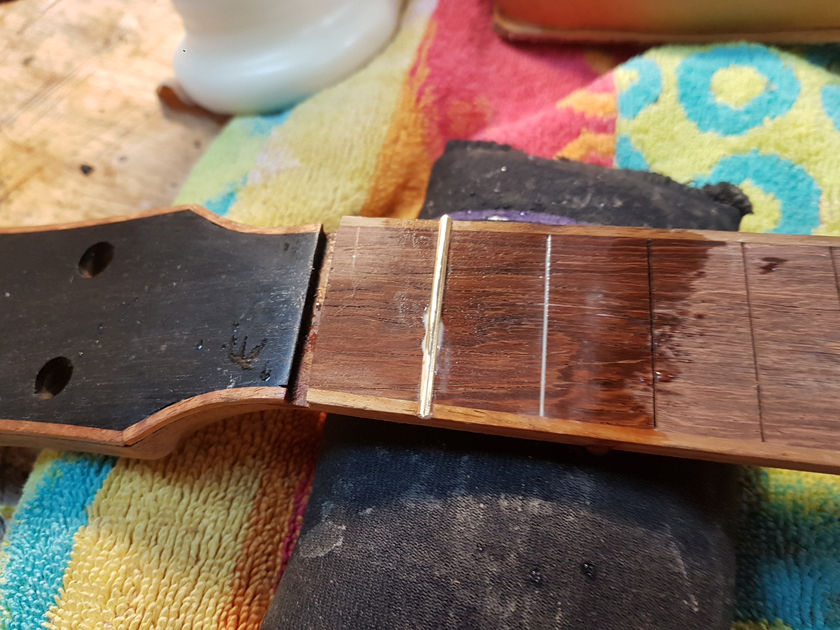
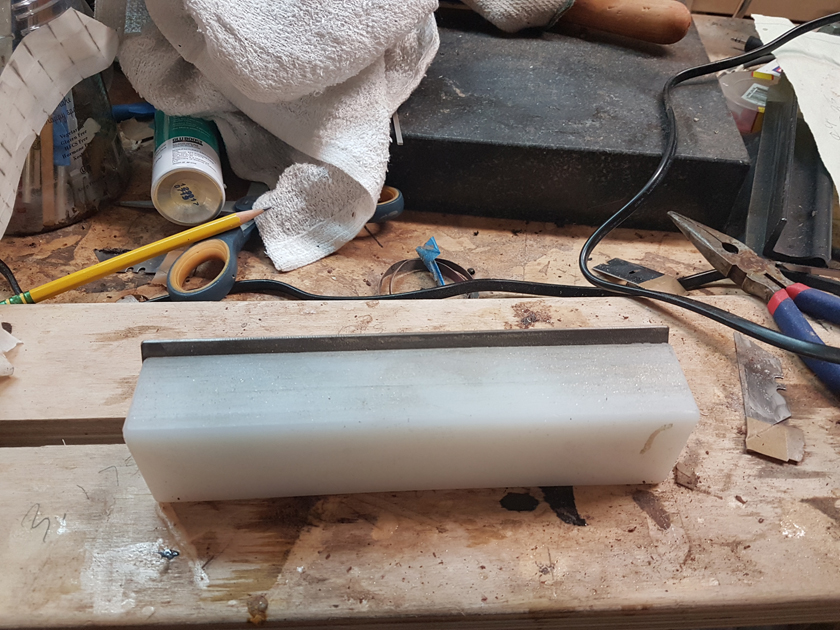
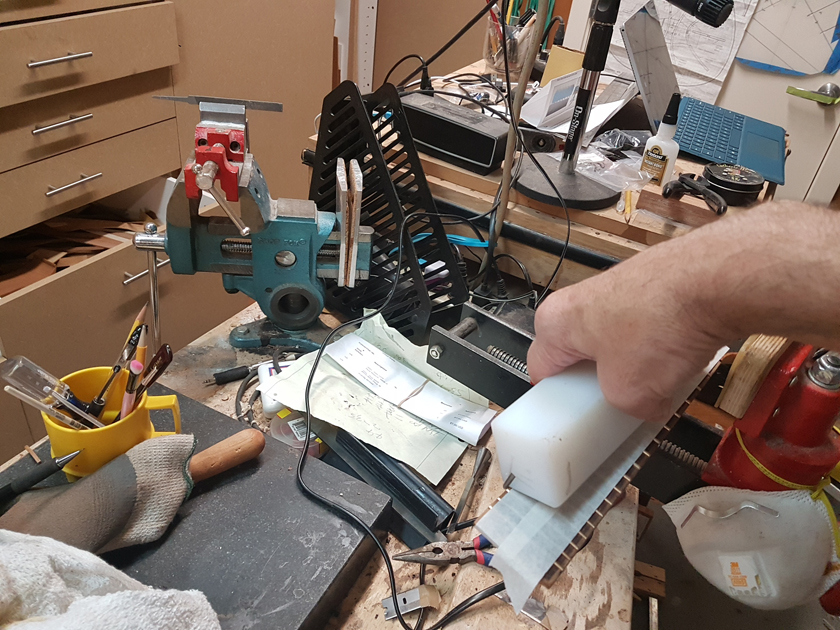
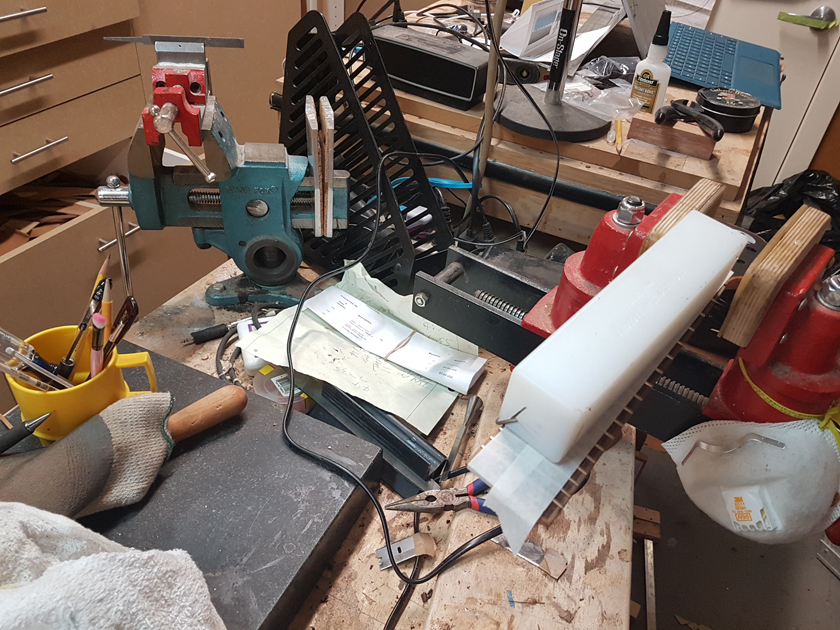
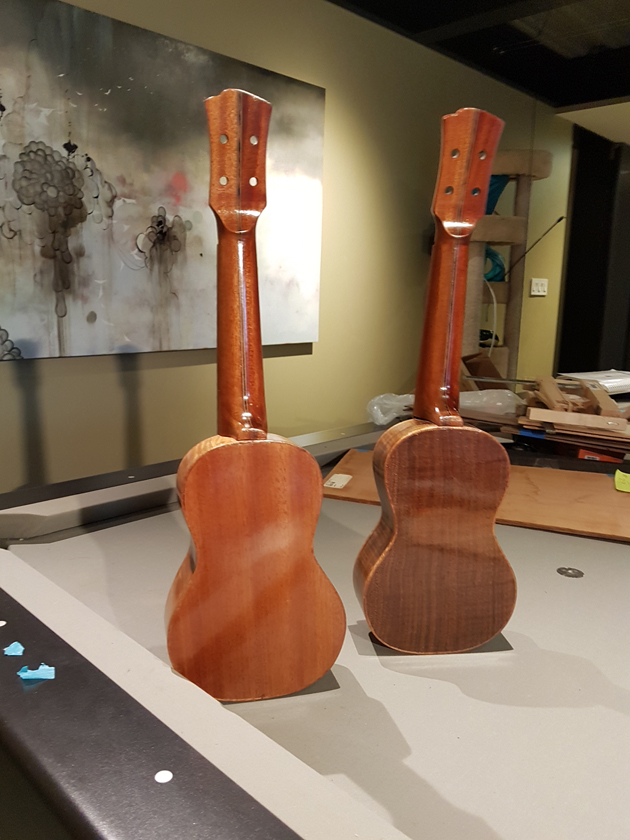
I have never bound a headstock before — hoping to avoid the tight curves and mitres. I decided to try binding these with CA glue, working a small section at a time. The first attempt was a learning experience; by the second headstock I had a much better feel for the bends.
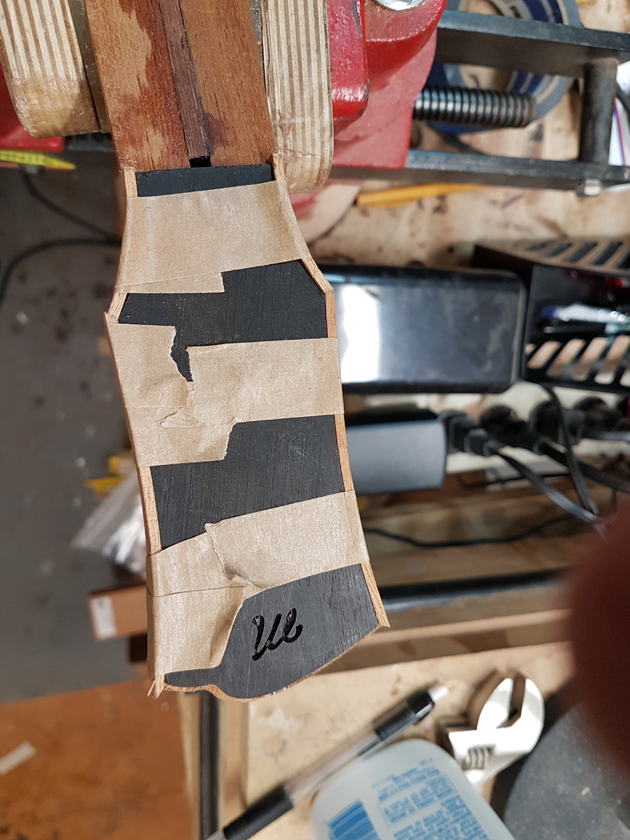
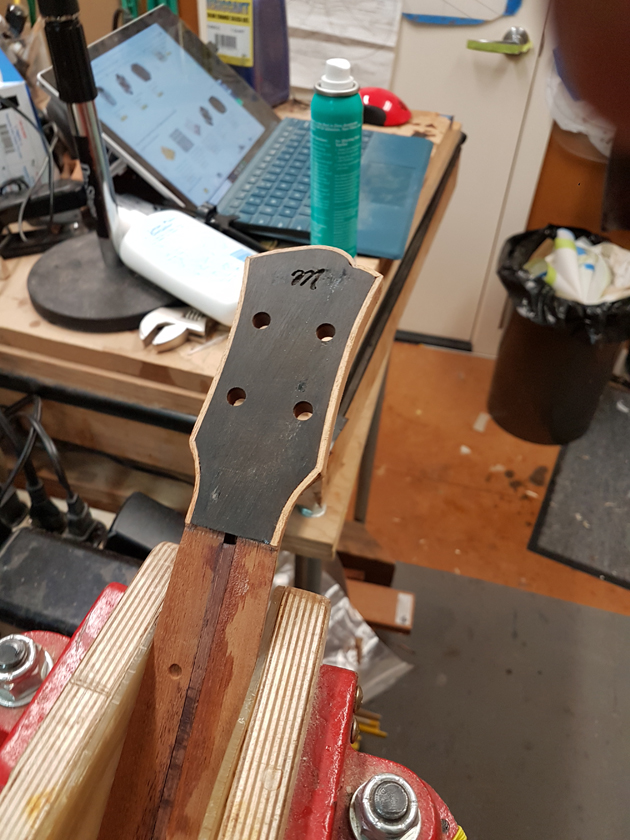
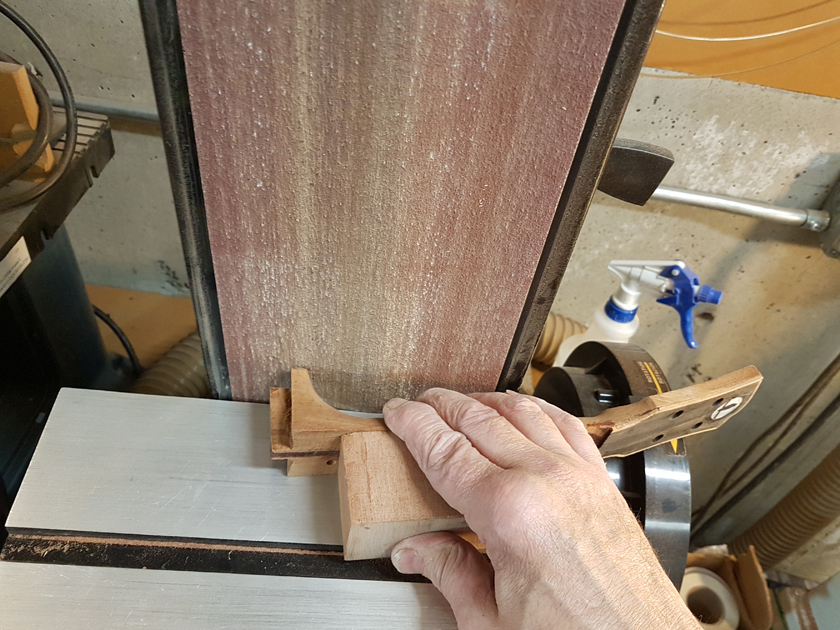
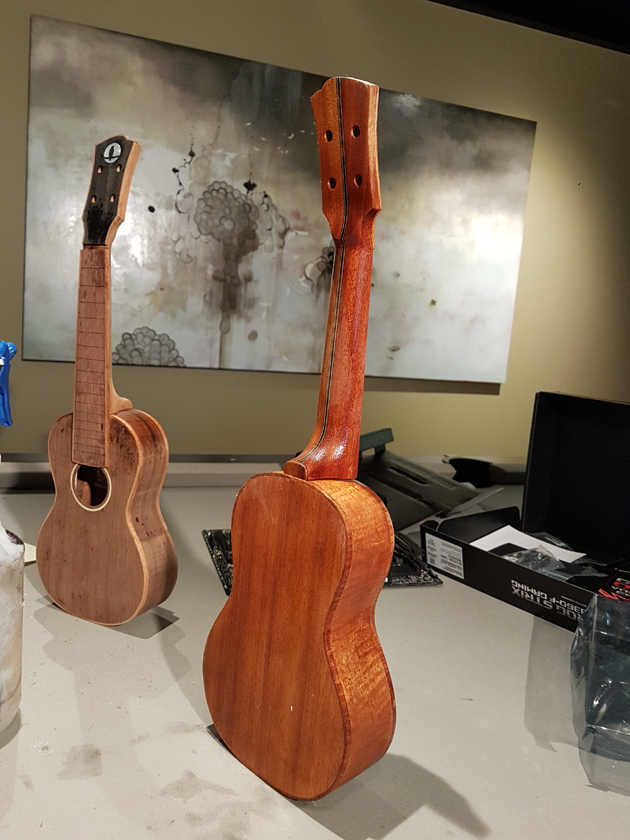
Moving on to the second neck. Having a better feel for the bends, I was able to quickly bind the headstock. I switched to a mitre cutting tool instead of the belt sander — not sure why I didn’t use it on the first one.
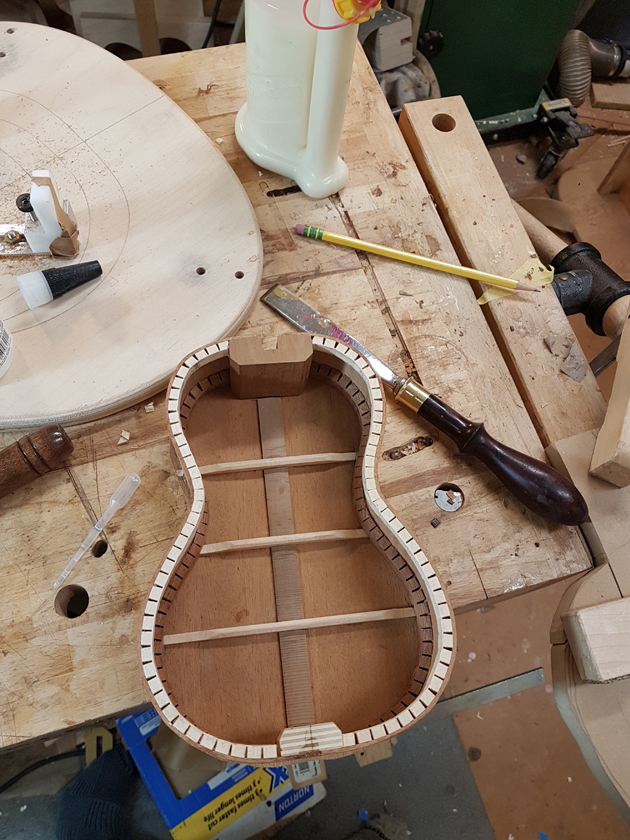
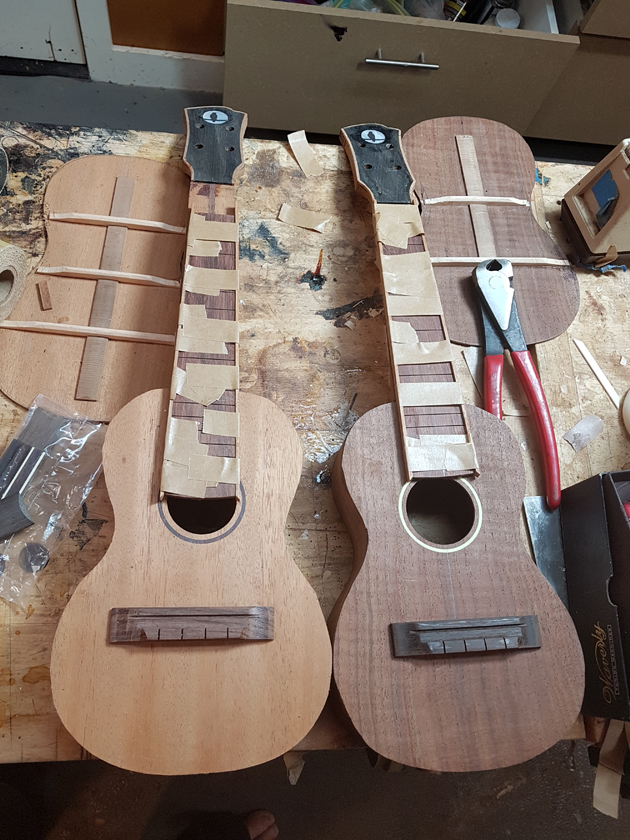
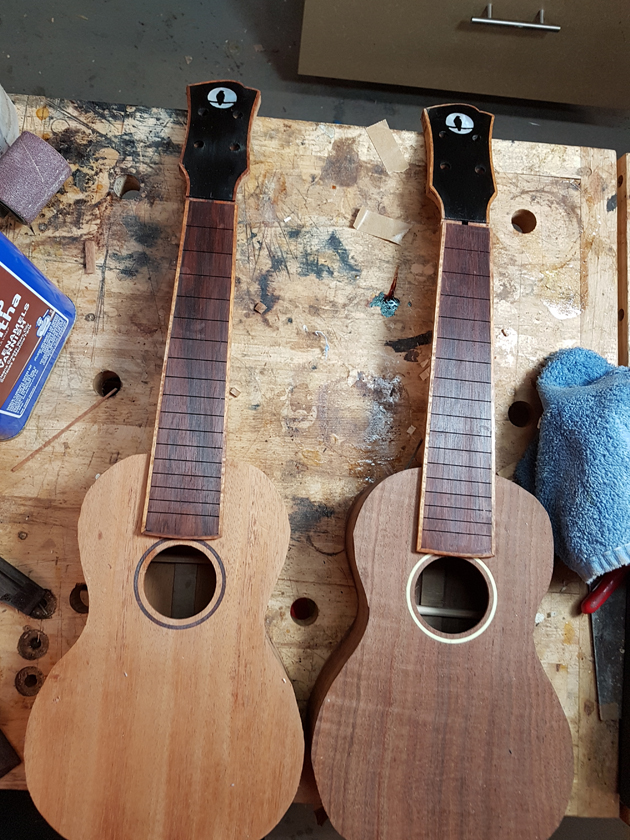
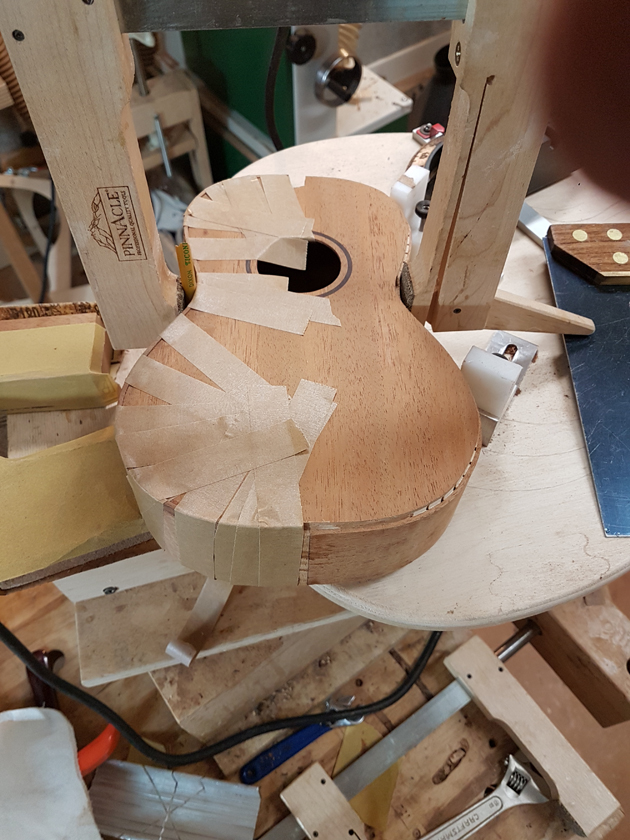
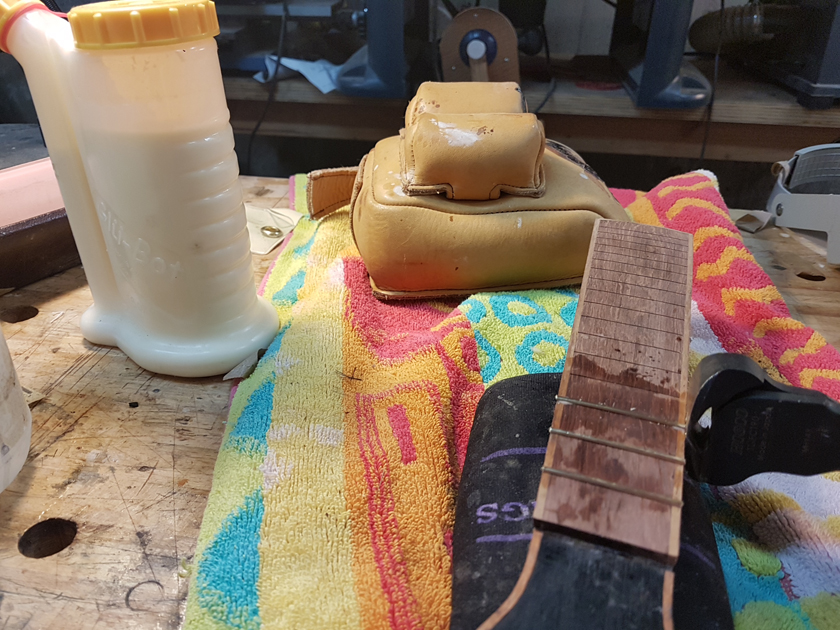
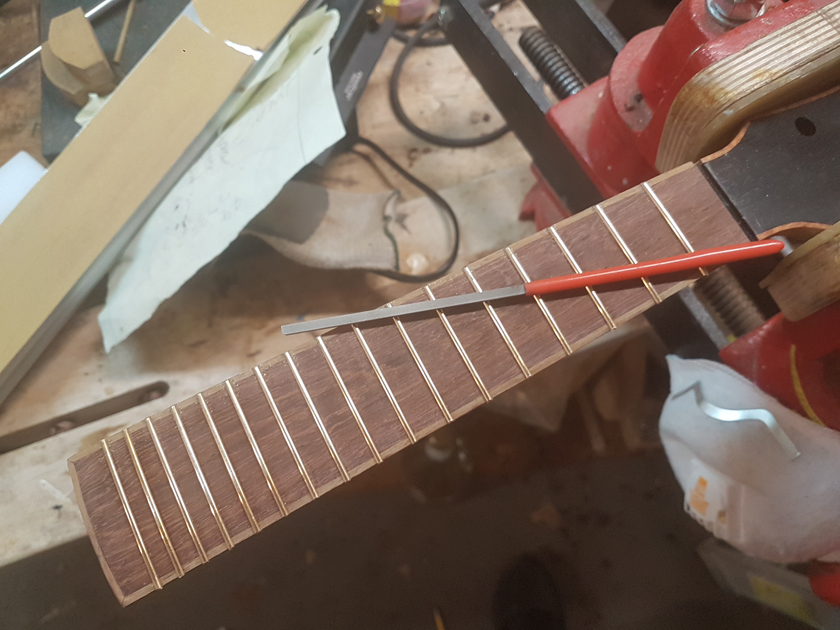
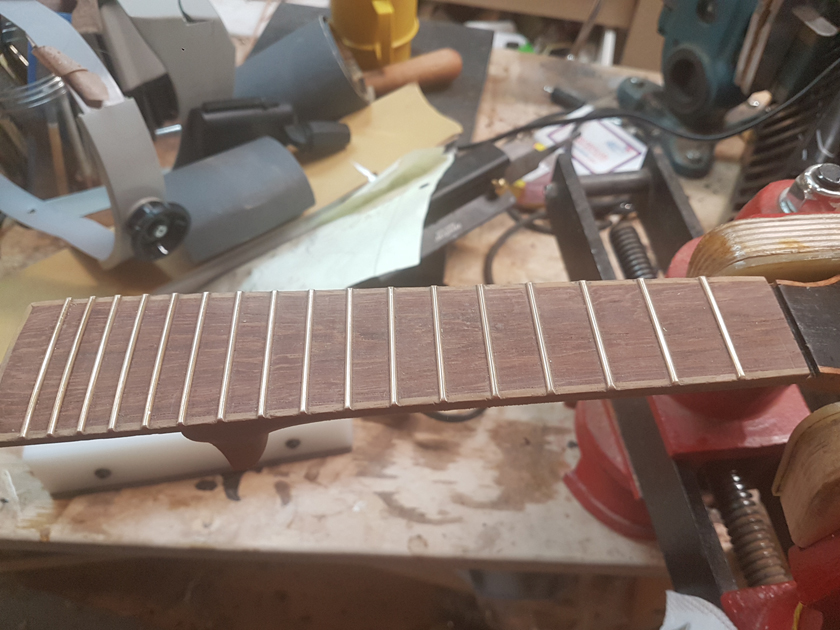
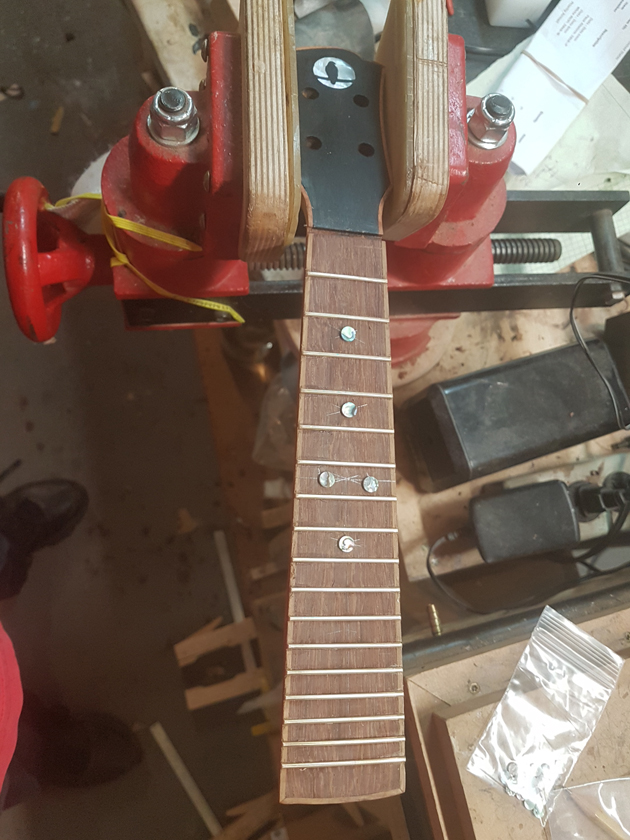
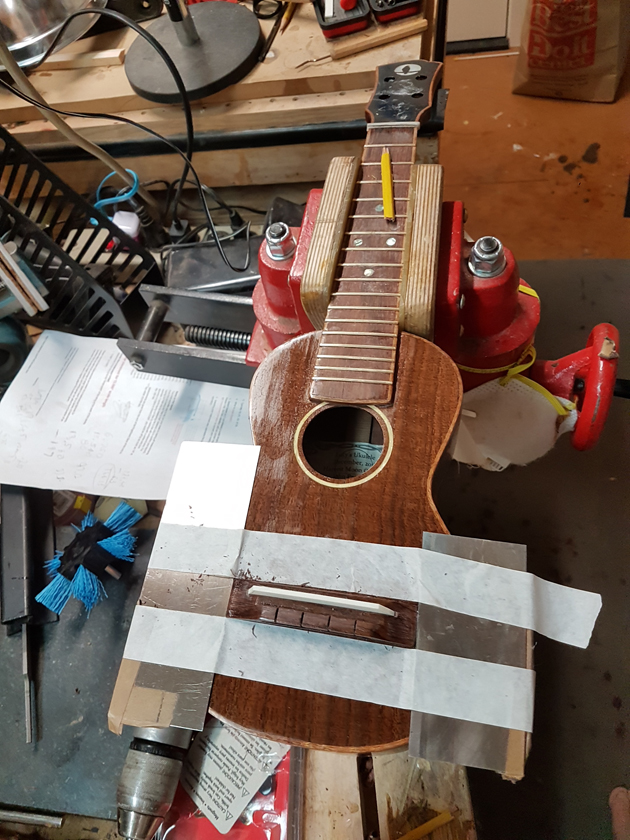
The fretboard binding is finished. I need to close the box by gluing on the back, but I’m waiting on the parents to get back with which twin gets which ukulele before gluing on the back — it will be easier to glue in a personalised label with the back off.
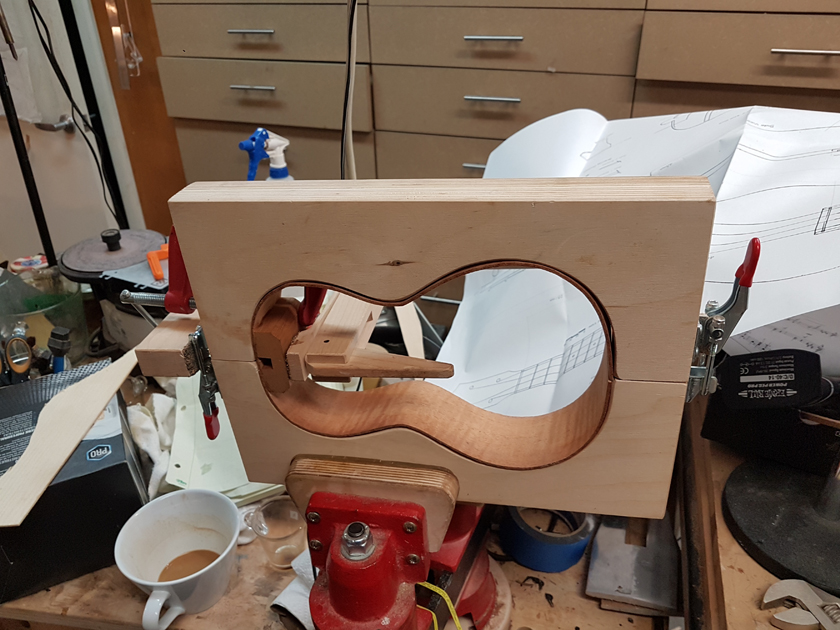
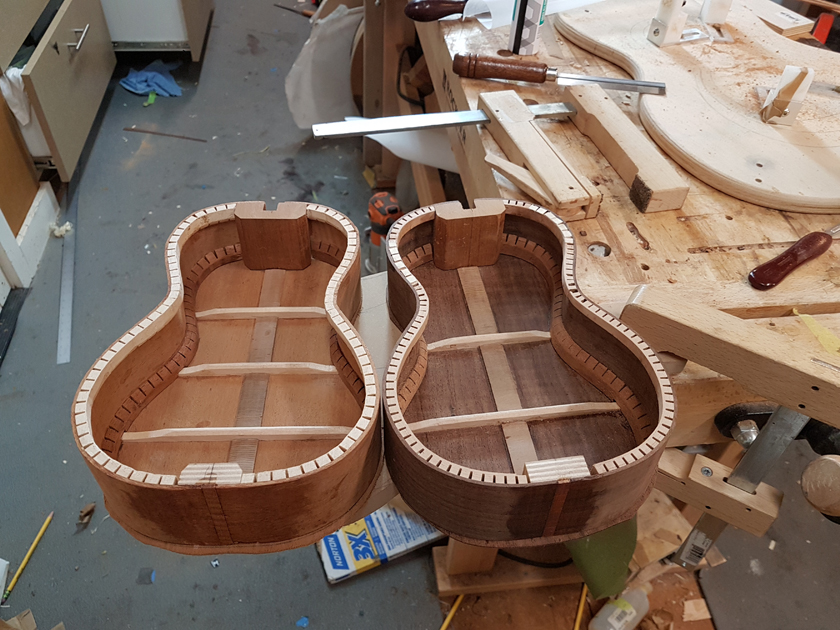
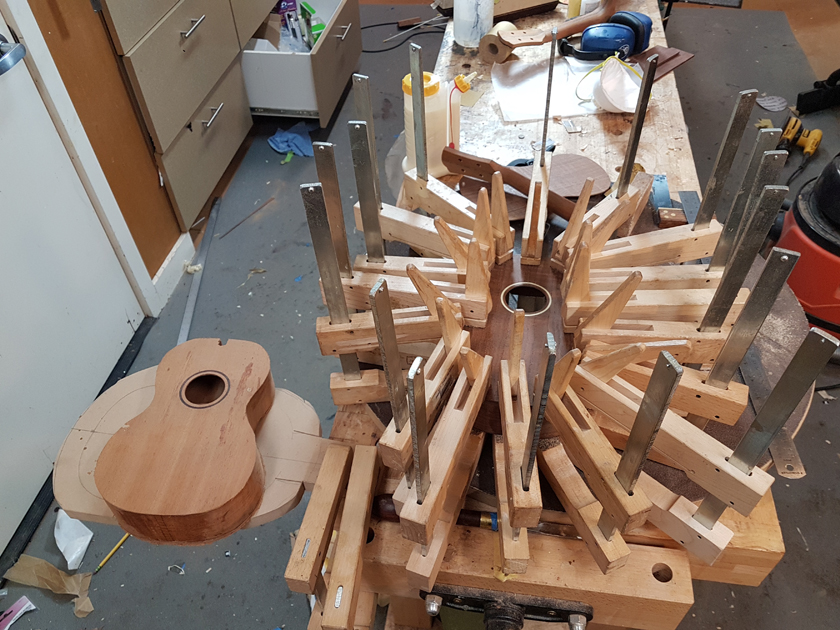
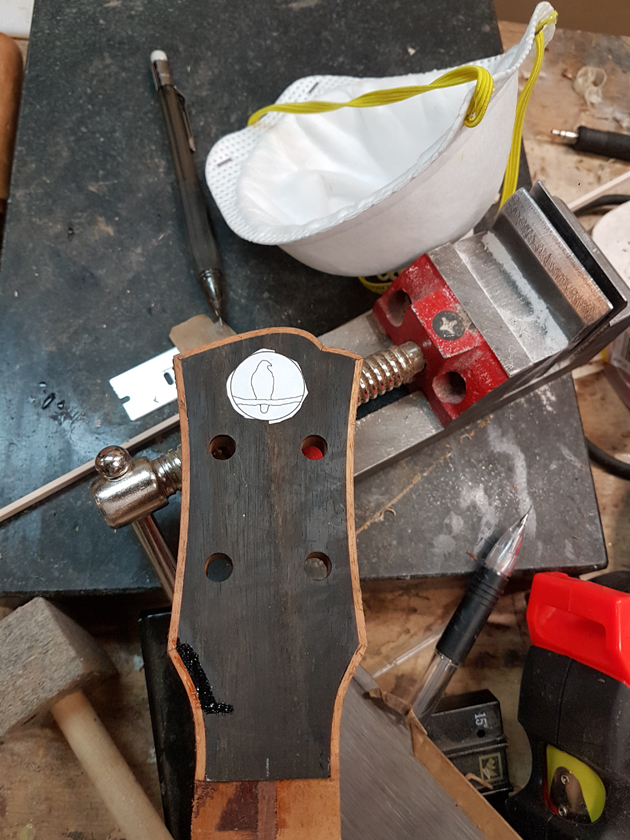
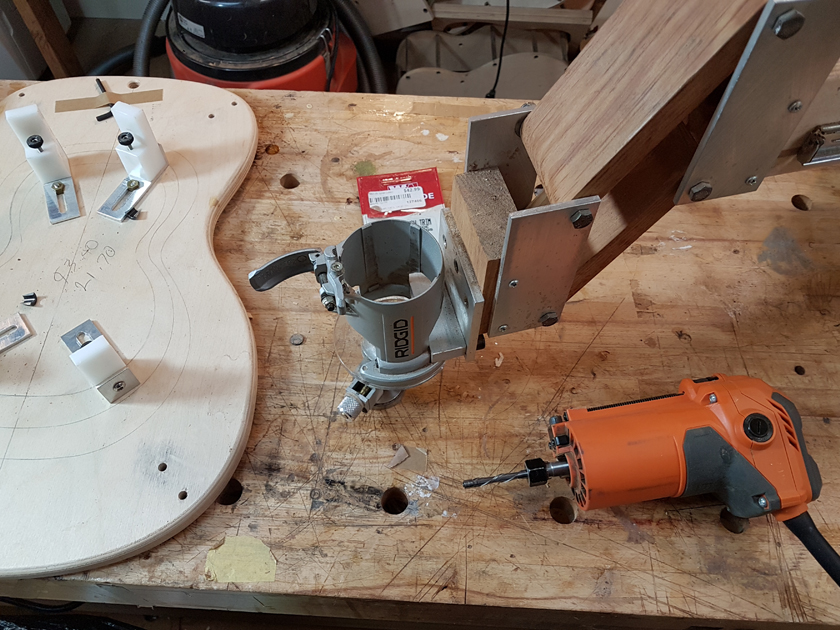
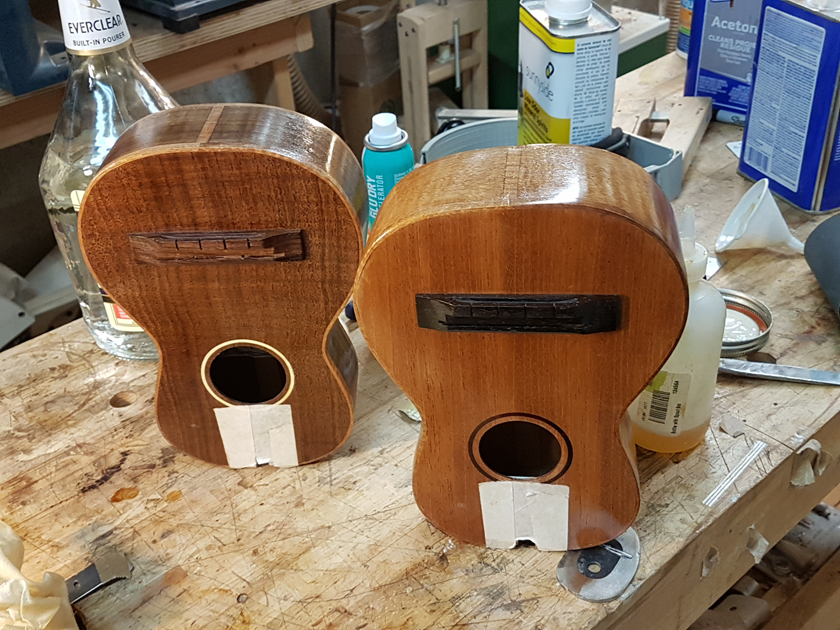
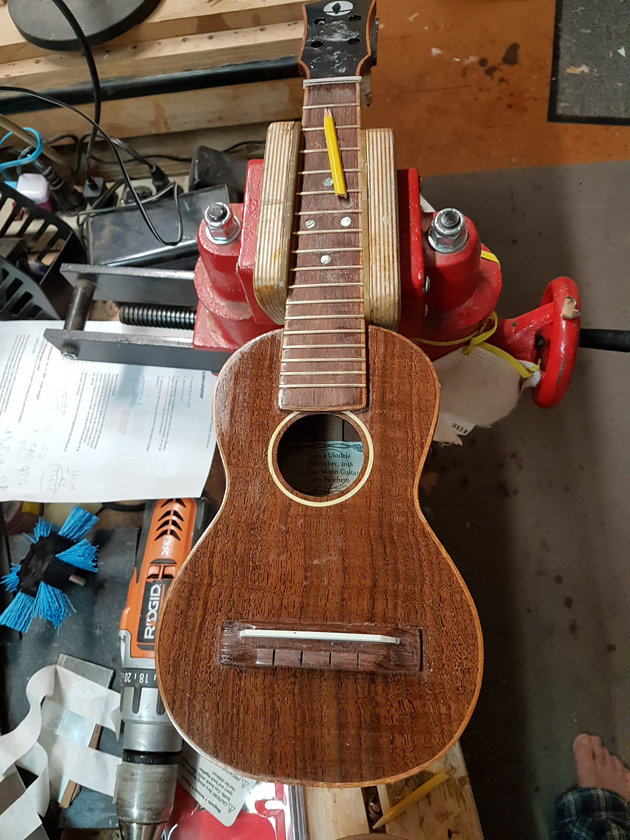
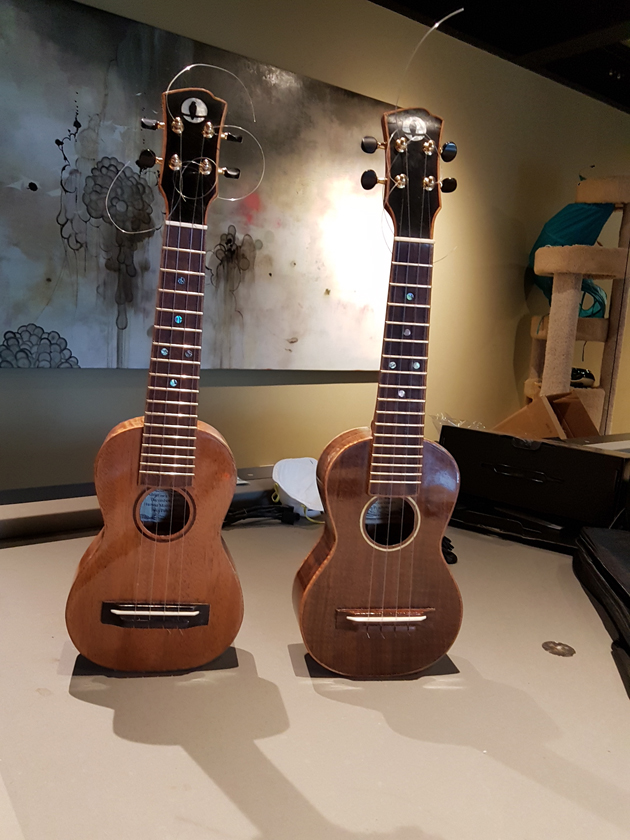
I am making these fancy. I was able to close up the ukuleles and bind them in the last couple of days. Before closing them up I made personalised labels for the twins and flush-routed the tops.
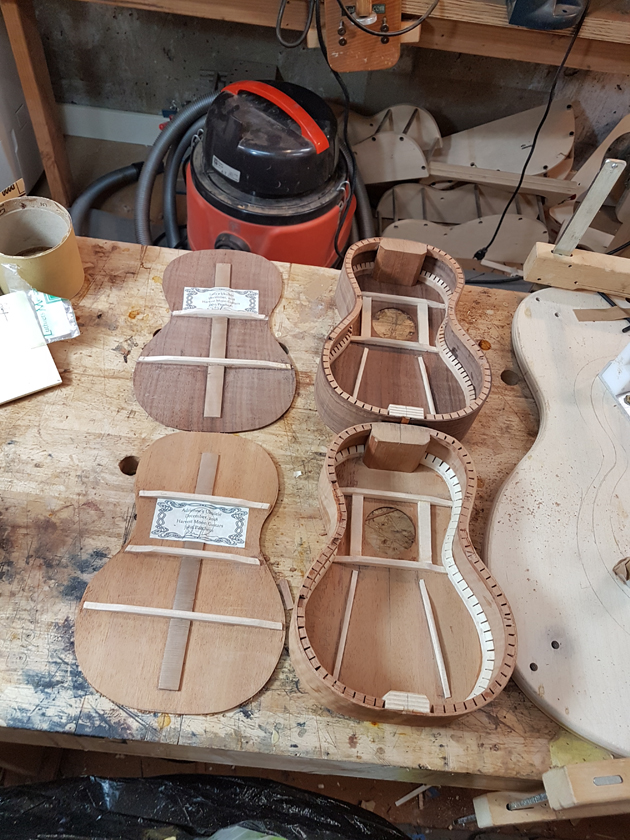
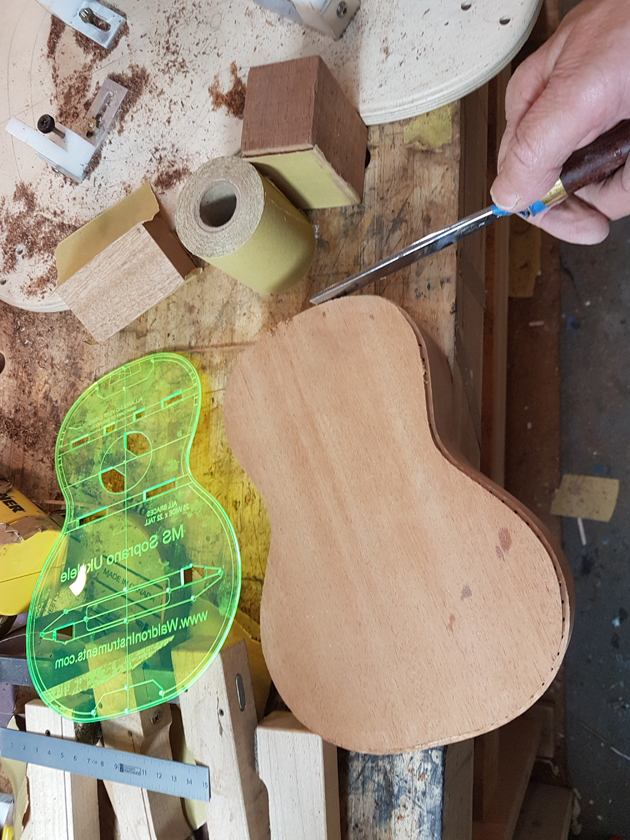
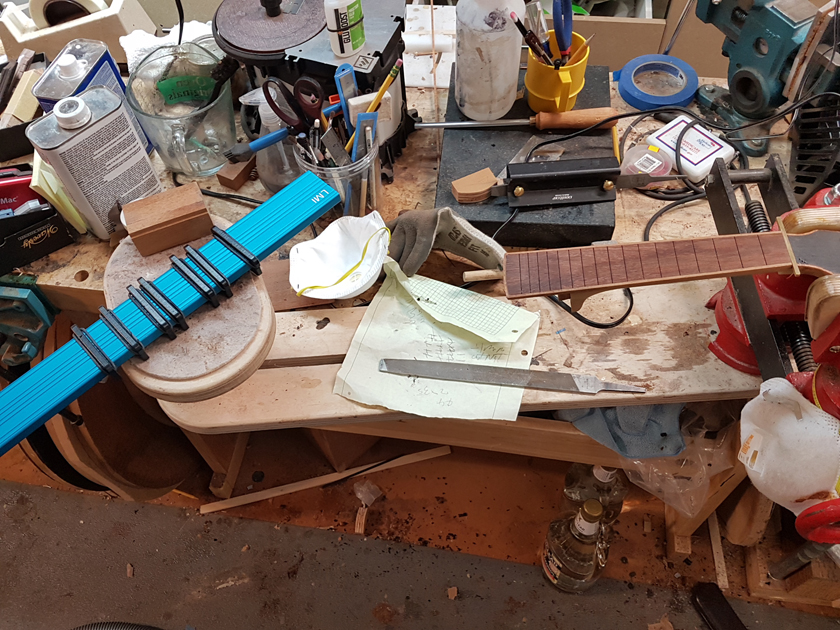
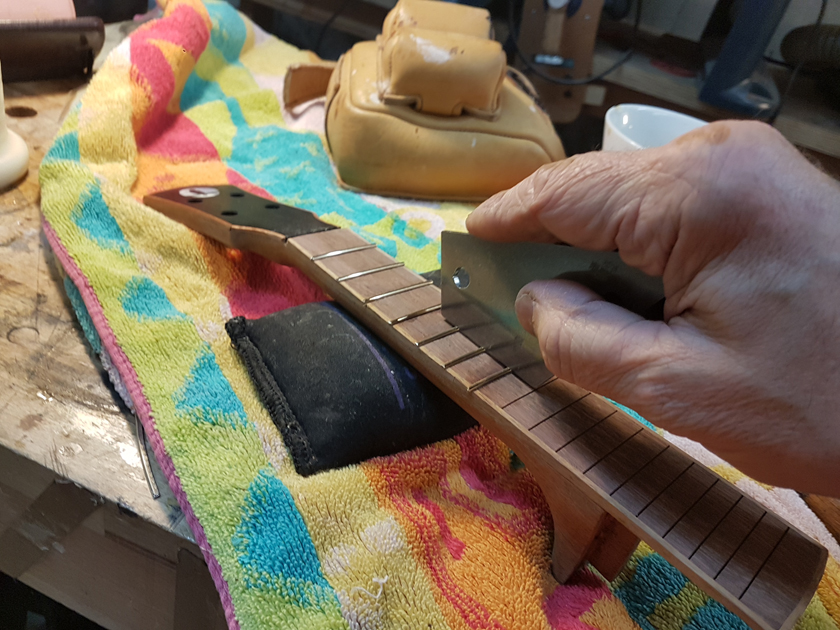
I am moving along, hoping to be finished in time for Christmas. I got a chance to try my new fretboard caul with replaceable radius inserts. I also spent time cleaning up the bindings, levelling the top, back and rims.
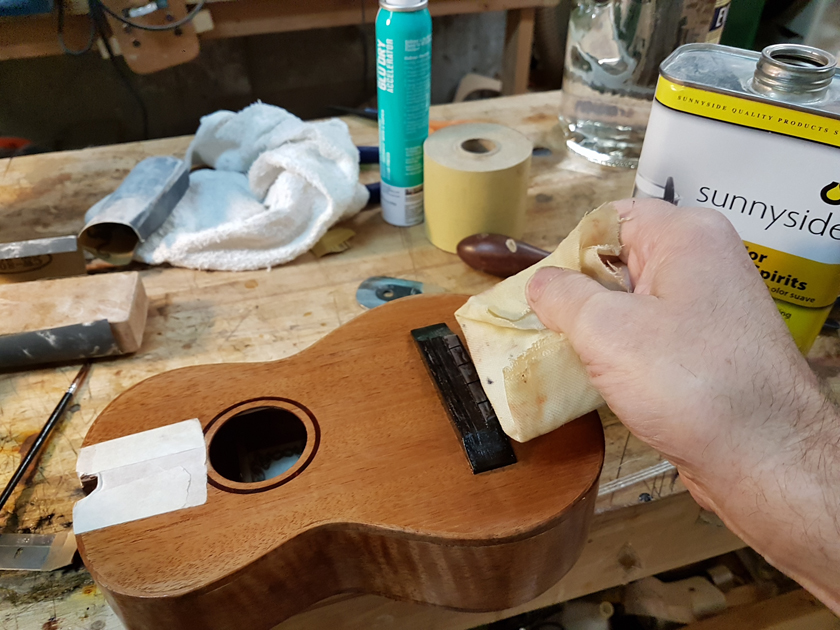
I located the bridges, masked them and the fretboard extensions, and pore-filled with AquaCoat. Normally I would do the French polish with the bridge off — it is a lot easier. However, I like to let the French polish cure for one to two weeks, as I have had the vacuum clamp mar a fresh FP finish. So the bridge went on first.
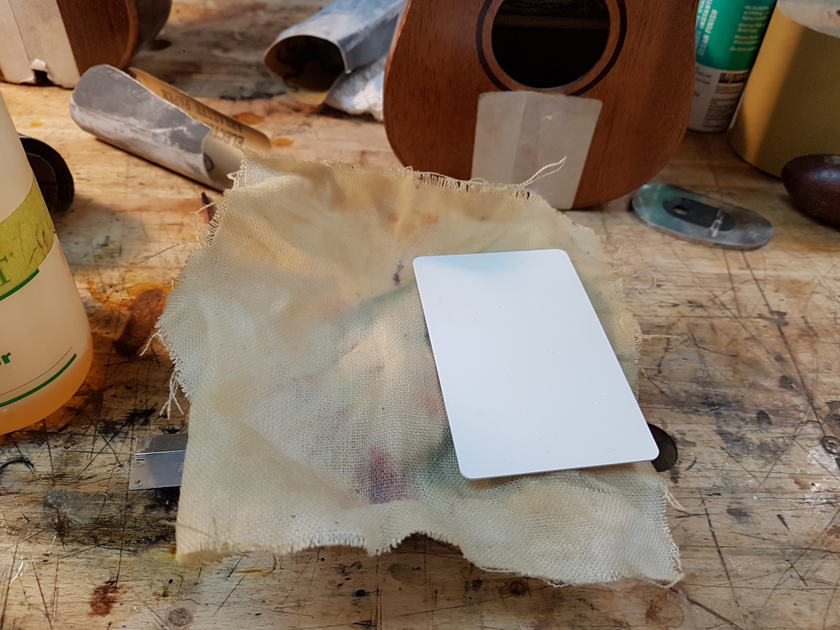
It is a real pain to French-polish with the bridge in the way. To get a clean finish close to the bridge I pulled the cover from my muñeca and wrapped it in a blank name badge card. It did help me get close.
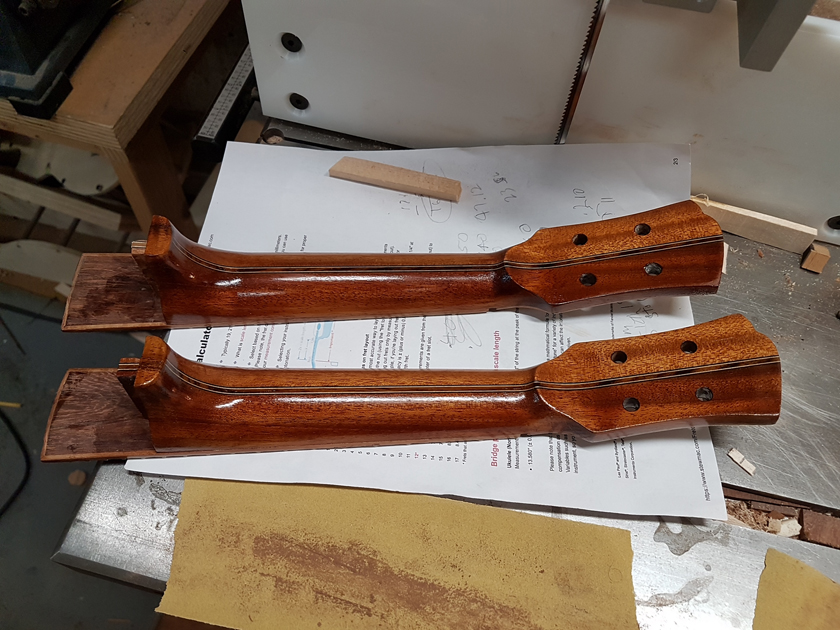
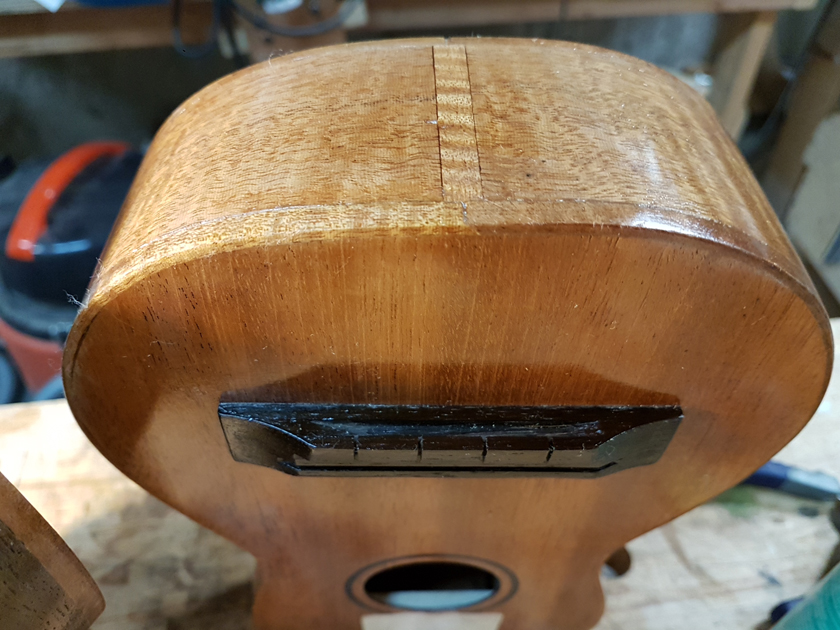
I pore-filled the necks with GluBoost finish CA and French-polished them as well. Then glued the necks on — previously fitted including flossing the cheeks for the neck angle and good contact. Sorry, no pictures of the neck glue-up.
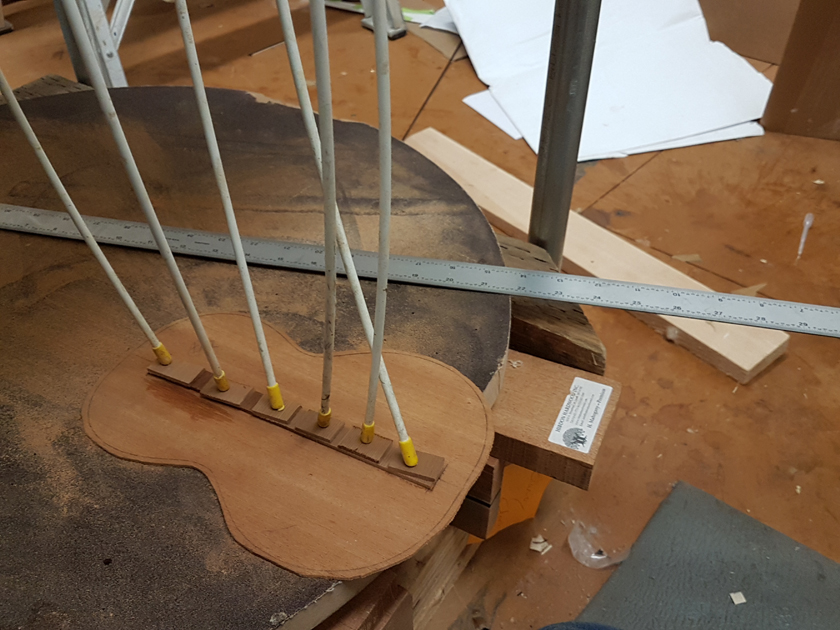
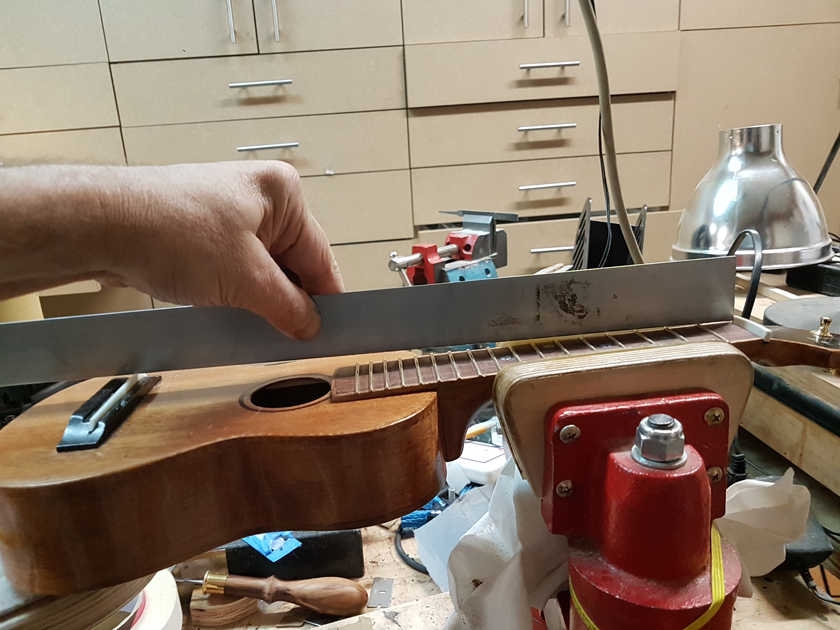
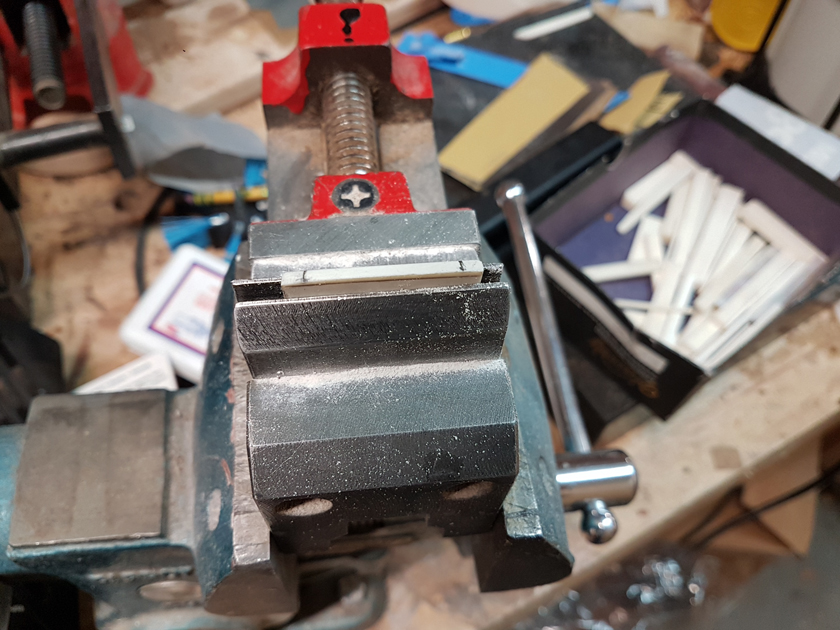
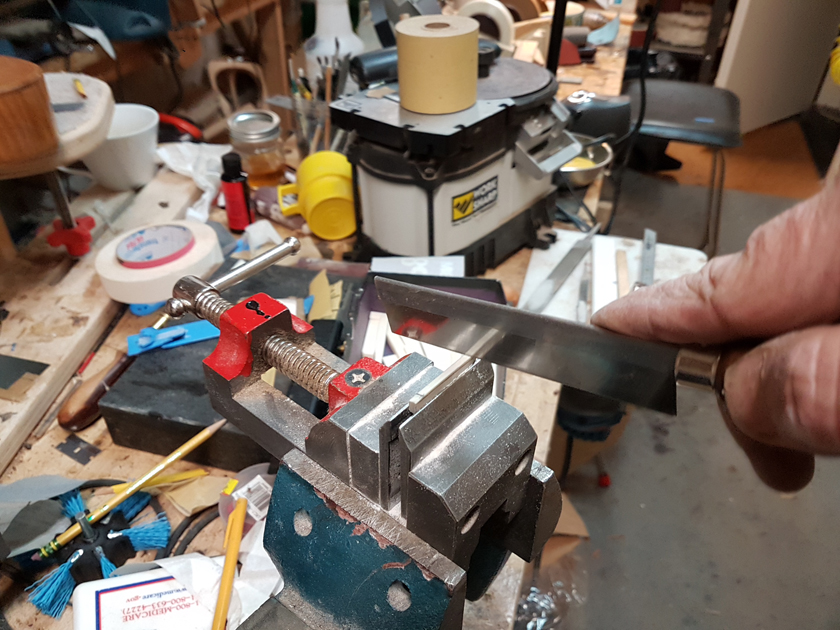
Setup Details I used a straightedge from the first fret to the saddle to measure the action, aiming for 3mm as a rough starting point. For the nut slots I used a razor saw, checking alignment by using the reflection in the saw blade — the reflected nut should look like a continuation of the nut. A simple trick for getting square, accurate slots.
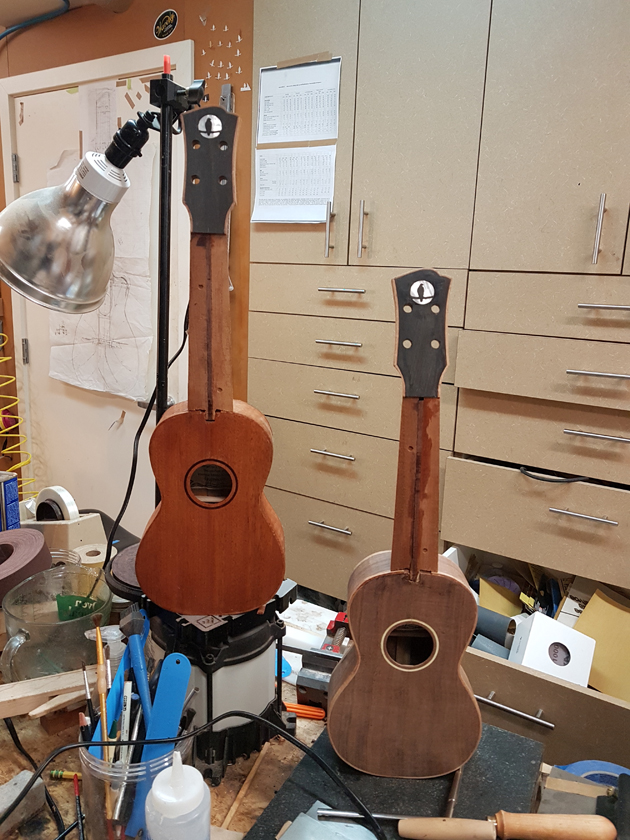
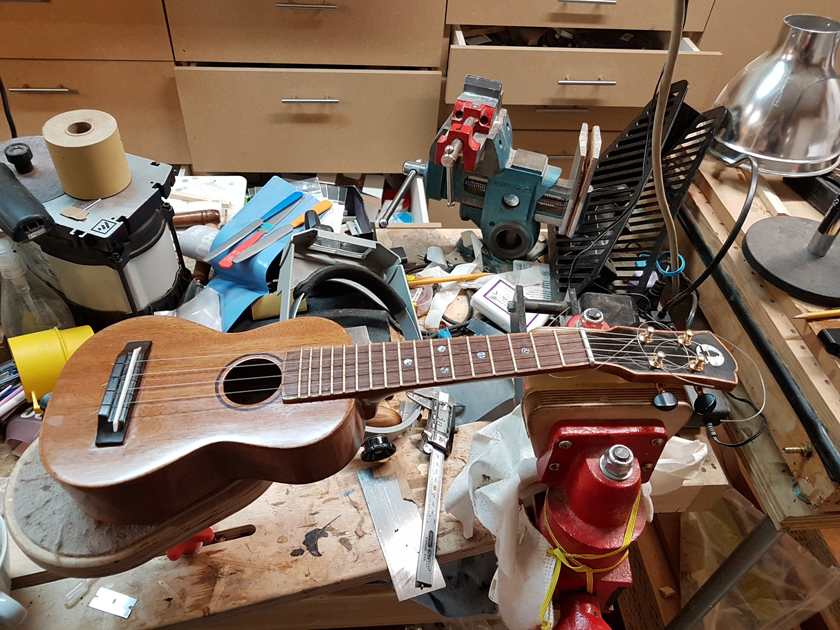
I strung up the first and repeated on the second — now I have two strung ukuleles. My rough setup is very close to the mark. The ukes sound good, or at least like a ukulele. Ready for Christmas.
Specifications
StyleSoprano Ukulele (Pair)
TopSpruce
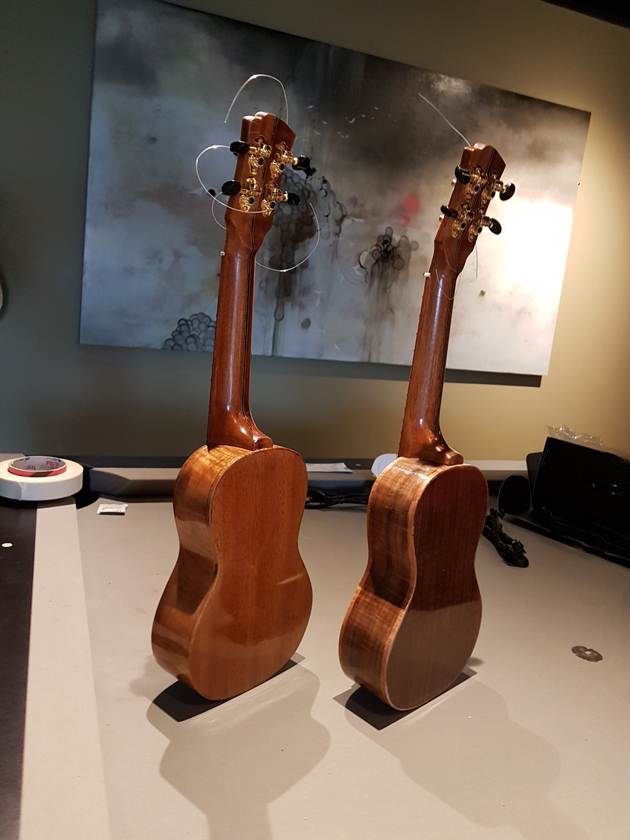
Back & SidesKoa
BindingsBound Body, Headstock & Fretboard
RosetteAmboyna Burl
Pore FillAquaCoat (Body) · GluBoost CA (Neck)
FinishFrench Polish
Built ForIdentical Twin Daughters — Christmas Gift
Build PeriodNovember – December 2018